The moment I realized my hydroponic nutrient management needed serious help was when my supposedly foolproof lettuce crop developed what can only be described as “lettuce tantrums”—leaves curling, tips browning, and growth so stunted it looked like I was deliberately growing miniature produce. This was approximately six months into my hydroponic journey, right when I had gained enough confidence to believe I actually knew what I was doing. Nature has a way of humbling gardeners, but hydroponic systems seem particularly skilled at delivering humility with brutal efficiency.
My initial approach to hydroponic nutrients had been what I’d generously call “intuitive,” which is a fancy way of saying I dumped in manufacturer-recommended amounts whenever I remembered and hoped for the best. This strategy works about as well as you’d expect, which is to say not at all. After watching another round of plants struggle, I finally accepted the obvious: successful hydroponics requires actual science, not gardening vibes and occasional prayers to the plant gods.
What followed was my descent into the surprisingly complex world of nutrient management. I’ve since developed a weekly routine that has transformed my hydroponic garden from a series of expensive plant funerals into a surprisingly productive system. It’s not particularly glamorous work—in fact, it’s precisely the kind of methodical maintenance that doesn’t make for good Instagram posts—but it’s the foundation everything else builds upon.
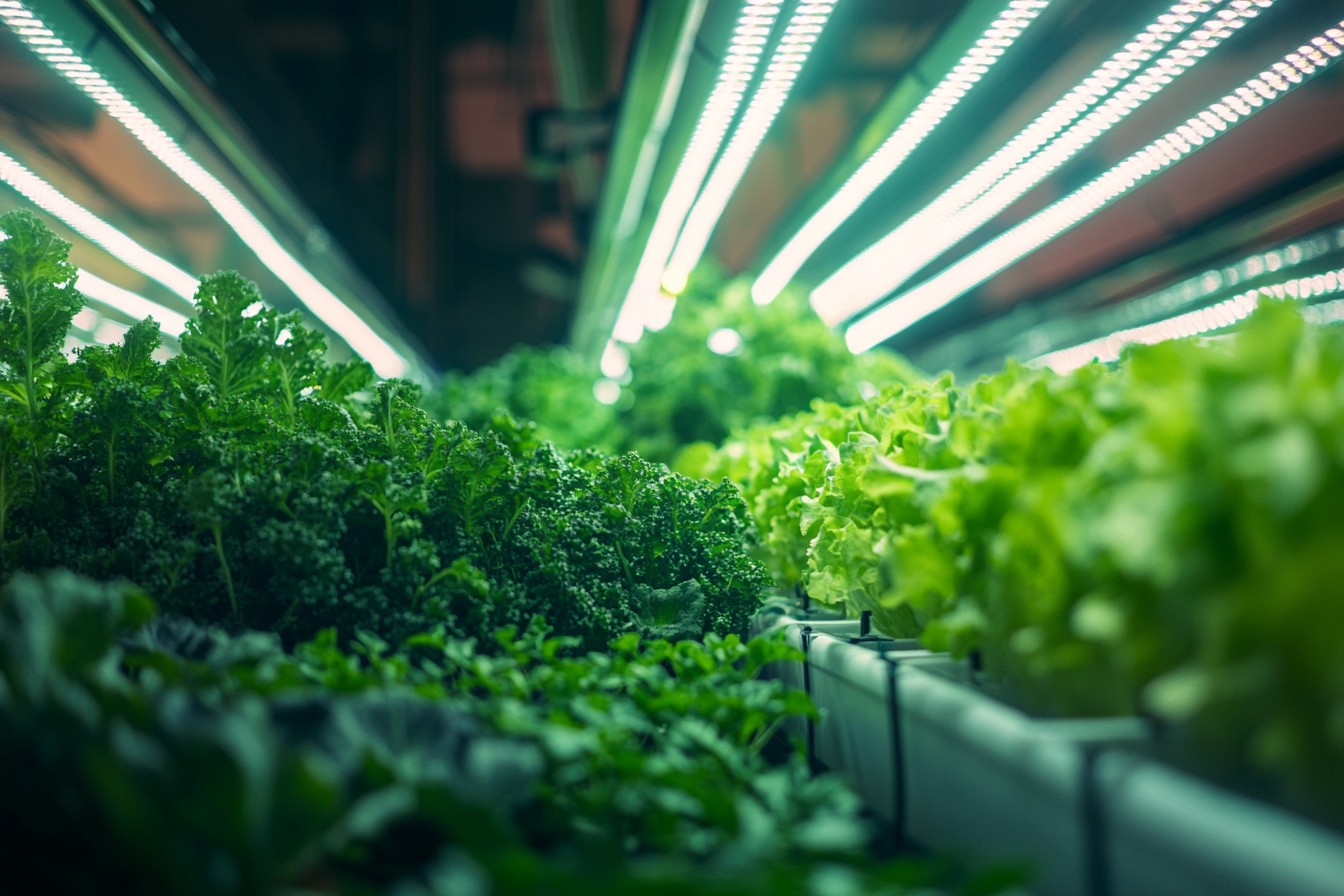
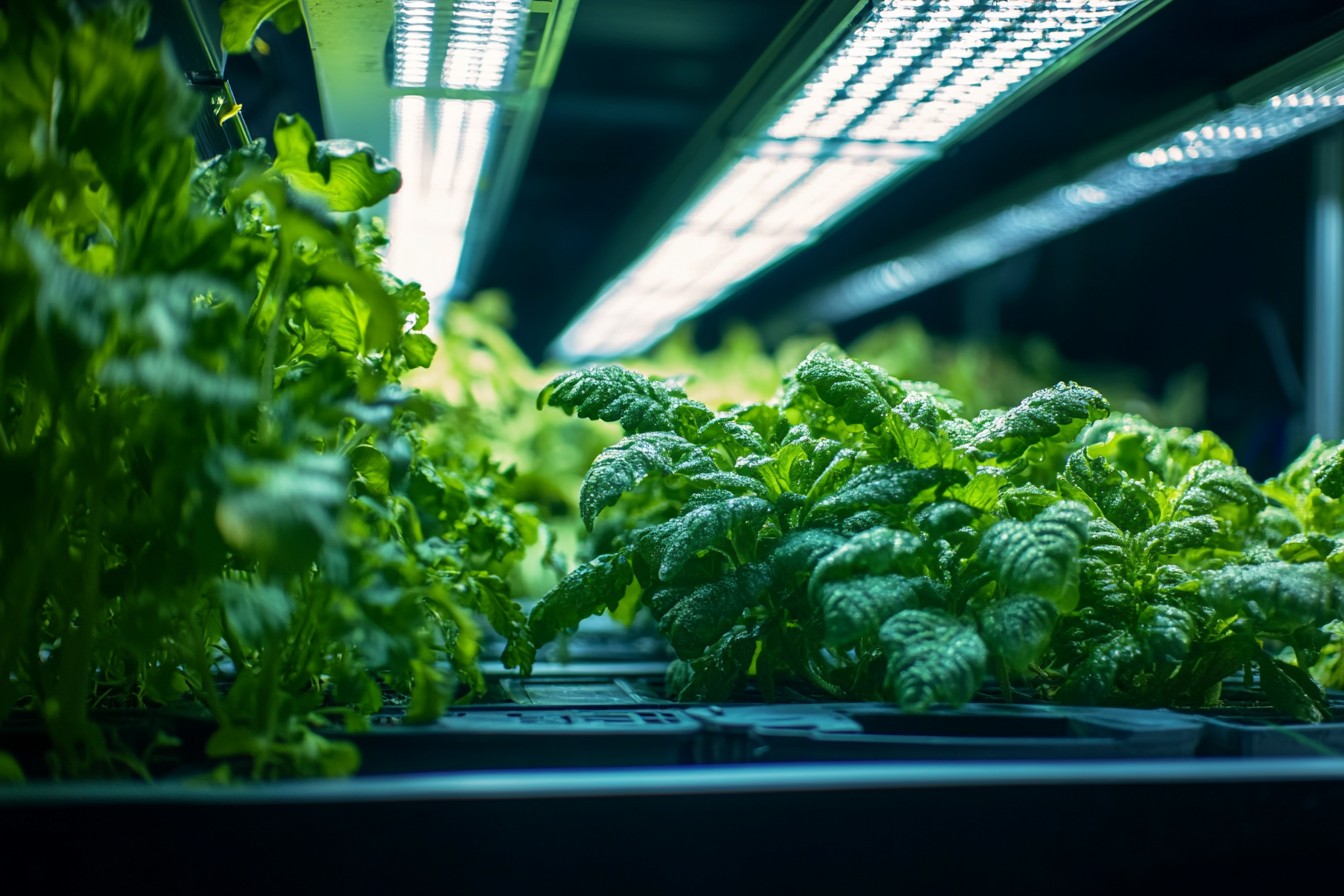
My hydroponic setup isn’t particularly fancy. I run a deep water culture (DWC) system for leafy greens and herbs, and a small Dutch bucket system for larger fruiting plants like tomatoes and peppers. Together, they take up about 20 square feet of my apartment and provide a continuous supply of fresh produce that almost justifies the amount of time I spend fussing over water parameters.
Almost. Every Sunday morning, I perform what I now refer to as “Water Church”—a sacred ritual of testing, adjusting, and occasionally completely replacing the nutrient solution that keeps my plants alive. The entire process takes about 90 minutes and involves more equipment than I initially expected to need for growing lettuce in buckets.
The routine begins with gathering my testing supplies, which now live in a dedicated tackle box because apparently I’m the kind of person who needs a tackle box despite never having gone fishing. The essential tools include:
– Digital pH meter ($39.95) – After killing two cheap meters and subsequently two crops of basil, I finally invested in a decent model that holds calibration for more than 15 minutes. – TDS meter ($15.99) – Measures total dissolved solids, giving a rough indication of overall nutrient concentration.
– EC meter ($27.50) – For electrical conductivity measurements, which provide a more accurate reading of nutrient concentration than TDS alone. – Liquid test kit for individual nutrients ($34.99) – Allows testing for specific deficiencies when plants show symptoms that require troubleshooting. – Calibration solutions for the pH meter ($12.95) – Because a pH meter reading 6.2 when the solution is actually 5.3 leads to plant disasters I’ve experienced firsthand.
– Digital thermometer ($8.99) – Because nutrient uptake is significantly affected by solution temperature, a fact I learned after an unseasonably cold week in my apartment led to what I can only describe as “zombie lettuce.”
– Notebook for logging readings ($3.49) – The least technical but possibly most important tool, as it allows me to track trends over time. The first step in the process is always the same: testing the current state of each system before making any adjustments. I start by measuring and recording the volume of nutrient solution remaining in each reservoir, which gives me valuable information about water consumption rates.
My lettuce system typically goes through about 1.5 gallons per week, while the thirstier tomato buckets can drink up to 3 gallons in the same period. Next comes temperature testing. Ideal nutrient solution temperatures range from 65-75°F, with problems occurring at both extremes.
Below 60°F, plants struggle to take up nutrients even if they’re present in perfect concentrations. Above 80°F, oxygen levels decrease and harmful bacteria can multiply rapidly. My apartment’s ambient temperature usually keeps the solution in range, but during summer I’ve resorted to floating sealed bottles of frozen water in the reservoirs to keep temperatures down—a low-tech solution that works surprisingly well.
The pH testing comes next, and it’s here that I’ve experienced some of my most spectacular failures. My tap water starts at about 7.8—significantly more alkaline than the 5.5-6.5 range most hydroponic plants prefer. In my early days, I’d add pH down solution until I hit the target range, only to find the pH had drifted dramatically within 24 hours.
I’ve since learned that fresh nutrient solutions often experience pH drift as the components react with each other and the environment, so I now let newly mixed solutions sit for a few hours before making final adjustments. For weekly maintenance, I measure the pH in each system and adjust as needed using small amounts of pH up or pH down solution. I aim for 5.8 for leafy greens and 6.2 for fruiting plants, having found these specific values produce the best results in my particular setup.
The pH adjustment requires patience—it’s temptingly easy to overcompensate and end up ping-ponging between too acidic and too alkaline. I’ve learned (the hard way, naturally) to make adjustments in small increments, stir thoroughly, and wait at least five minutes before testing again. Testing for nutrient concentration comes next, using both the TDS and EC meters.
I record both readings primarily because I’m a data nerd, but also because having two measurement methods helps catch potential meter inaccuracies. The target ranges vary by plant type and growth stage, but I generally aim for EC readings between 1.2-1.8 for leafy greens and 1.8-2.6 for fruiting plants at peak growth. What these readings actually tell me is how concentrated the overall nutrient solution is, but not which specific elements might be excessive or deficient.
This is where experience and plant observation come into play. If plants show symptoms of specific deficiencies despite acceptable overall EC levels, I use the liquid test kit to check for particular nutrients that might be out of balance. Common symptoms I’ve learned to recognize include:
– Yellowing lower leaves often indicate nitrogen deficiency
– Purpling stems suggest phosphorus issues
– Browning leaf edges typically point to potassium problems
– Yellowing between leaf veins while veins remain green usually means magnesium deficiency
After testing comes the decision point: adjust the existing solution or perform a complete replacement.
I generally do a partial replacement (about 50%) every week and a complete replacement monthly. This schedule prevents the buildup of nutrient imbalances that occur as plants selectively consume certain elements while leaving others behind. For partial replacements, I first remove the specified amount of old solution.
This used to involve a siphon and several sloshed gallons on my kitchen floor until I installed small drain valves at the base of each reservoir—a $6 upgrade that has saved me countless paper towels and neighborly apologies. The removed solution doesn’t go to waste—it gets diluted and used to water my soil-grown houseplants, which seem to appreciate the nutrient boost judging by their improved growth since I started this practice. Next comes mixing the fresh nutrient solution, which I prepare in 5-gallon buckets before adding to the systems.
My tap water sits out for at least 24 hours to allow chlorine to dissipate, though I’ve found that during winter when my municipal system increases chloramine treatments, this isn’t sufficient. During those months, I add a dechlorinator designed for aquariums ($8.99) to speed the process. I use a two-part nutrient solution for most crops—one formula for leafy greens and another for fruiting plants.
After extensive experimentation with various brands and formulations, I’ve settled on a commercial hydroponic nutrient that costs about $42 for a supply that lasts approximately six months with my current system size. I’ve tried making my own nutrients from individual components, but the hassle-to-benefit ratio didn’t pencil out for my small-scale operation. The mixing process is straightforward but requires precision.
I measure water temperature, add Part A of the nutrient solution, stir thoroughly, then add Part B. This sequence matters—combining the concentrated solutions directly or in the wrong order can cause certain elements to bind together and become unavailable to plants. I learned this through the Great Calcium Lockout Disaster of 2022, which claimed an entire crop of otherwise healthy spinach.
For fruiting plants, I add a calcium-magnesium supplement during flowering and fruiting stages, as these heavier feeders can quickly deplete these specific nutrients. The supplement costs $16.99 for a bottle that lasts about eight months at my usage rate. After mixing the fresh solution to the appropriate concentration (verified with the EC meter), I adjust the pH and let it stabilize before adding it to the reservoirs.
Once the new solution is in place, I run the systems for about 15 minutes, then test again to ensure the mixed old and new solutions have balanced properly. For complete solution changes, which happen monthly, the process is similar but involves more thorough cleaning of the reservoirs. I remove all solution, rinse the reservoirs with clean water, wipe down accessible surfaces, and run a hydrogen peroxide solution (1 tablespoon per gallon) through the system to disinfect without leaving harmful residues.
This monthly deep clean significantly reduces the risk of root diseases and algae problems. The final step in my weekly routine involves checking and cleaning filters, air stones, and pumps. Clogged components not only reduce system efficiency but can lead to equipment failures that might not be discovered until plants show stress symptoms—usually when I’m away for the weekend or otherwise unable to address the problem immediately.
Air stones get a monthly vinegar soak to remove mineral buildup that can reduce oxygen transfer. Water pumps get inspected weekly for debris and cleaned as needed. Irrigation lines in the Dutch bucket system get flushed monthly to prevent salt buildup at drip points.
This might sound like a lot of work for growing what essentially amounts to expensive salad, and truthfully, it is. However, the routine has become meditative in its way—a weekly ritual that connects me directly to the health and productivity of my plants. There’s something deeply satisfying about seeing the direct relationship between careful nutrient management and thriving plants.
The data logging aspect has proven unexpectedly valuable. After several months of consistent record-keeping, I began noticing patterns:
– My lettuce performs best when the EC gradually increases from 1.0 to 1.5 over its growth cycle, rather than maintaining a constant level
– Basil shows early signs of nutrient stress about 36 hours before pH drifts out of optimal range, making it an excellent “canary in the coal mine”
– During summer months, nutrient consumption increases dramatically, requiring concentration adjustments about twice as frequently as winter months
– My tomatoes experience calcium uptake issues whenever the reservoir temperature drops below 65°F for more than two consecutive days
These insights have allowed me to develop increasingly customized management approaches for each crop, moving beyond generic recommendations to solutions specific to my environment and setup. The most significant change I’ve made based on collected data was transitioning to a dual reservoir system for my fruiting plants.
I noticed they had substantially different nutrient needs during vegetative versus flowering stages—more nitrogen early on, more phosphorus and potassium later. Rather than compromise with a middle-ground solution, I now maintain separate reservoirs that I can switch between as plants transition between growth phases. This dual system added about $85 in equipment costs but has noticeably improved yields.
My cherry tomato production increased by approximately 34% after implementation, and pepper plants show significantly less blossom drop when transitioned between appropriately formulated solutions. I’ve also found that certain crops benefit from periodic “nutrient holidays”—short periods of running with very dilute nutrient solution or even plain water. Basil, in particular, develops more intense flavor when subjected to mild stress through this technique, though the timing is crucial—too long and plants suffer, too short and there’s no benefit.
Over time, I’ve streamlined the process considerably. What once took nearly three hours now takes about 90 minutes, and most of that improvement came from better organization and consistent scheduling rather than cutting corners. I’ve arranged my testing and adjustment supplies in the sequence they’re used, premix commonly needed pH adjusters in clearly labeled dropper bottles, and maintain a checklist to ensure nothing gets missed when I’m rushing or distracted.
The financial aspect of nutrient management is worth mentioning. My monthly costs break down to:
– Nutrients: ~$7
– Testing supplies and calibration solutions: ~$5
– Water (including waste): ~$3
– Electricity for pumps and aeration: ~$8
That’s approximately $23 monthly for a system that produces about 8-10 pounds of leafy greens and 3-5 pounds of tomatoes/peppers in the same period. Considering organic versions of these crops would cost $50-60 at my local market, the system does eventually pay for itself, though I try not to calculate the hourly rate for my labor (some delusions are worth maintaining).
For those considering hydroponics, I’d offer this advice: invest in quality measuring equipment from the start, establish a consistent maintenance schedule, and keep detailed records. Plants don’t lie—they show the results of your nutrient management in real time—but they don’t always communicate in ways that are immediately obvious. Learning to read these signals and correlate them with your measurements is the key to successful hydroponic growing.
Is this level of attention necessary? For optimal results, yes. Could you get away with less precise management?
Probably, but your results would likely be inconsistent. I’ve tried more casual approaches and invariably returned to this structured routine because the quality difference is unmistakable. Plants grown with precise nutrient management show faster growth, better color, higher yields, and superior flavor compared to those subjected to my earlier haphazard methods.
There’s something deeply satisfying about this process despite its technical nature. Traditional soil gardening involves a substantial element of faith—you amend the soil, plant your crops, and trust that the complex ecosystem will support them. Hydroponics removes that black box, making the relationship between your actions and plant responses clear and immediate.
It’s gardening with the curtain pulled back, revealing the direct connections between nutrient availability and plant health. Each Sunday as I conduct my nutrient maintenance routine, I’m not just keeping plants alive—I’m participating actively and precisely in their growth processes in a way that soil gardening never quite allows. It’s methodical and occasionally tedious, yes, but it’s also deeply connecting.
I understand my plants’ needs in a way I never did before, and they respond with growth that sometimes seems almost gratefully enthusiastic. That said, if anyone asks me directly if maintaining hydroponic nutrients is worth the effort, I usually just shrug and say, “It depends how much you like salad.” Some passions are better left unexplained.

