The moment that pushed me over the edge wasn’t particularly dramatic. It was just me, standing in my shower, watching gallons of perfectly good water swirl down the drain while my garden outside was crispy from the third week of drought restrictions. Something in my brain just snapped.
I’d spent the morning watering my tomatoes with precious, metered city water, and now I was literally washing that investment down the drain. It made no sense. Zero.
None. This was last June, during one of those weeks where the temperature sat stubbornly at 94 degrees and the local news kept showing ominous graphics of the dropping reservoir levels. I stood there, conditioner in my hair, having what I can only describe as an existential water crisis.
By the time I rinsed off, I’d decided: I was going to build a greywater system if it killed me. (Spoiler: it nearly did, but not in the ways I expected.)
For those who aren’t familiar, greywater is the relatively clean wastewater from baths, sinks, washing machines, and other appliances that don’t contain fecal contamination. It’s distinct from blackwater, which comes from toilets and is a whole different ballgame requiring serious treatment.
Greywater has some soap and food particles and skin cells and whatever else washes off you, but it’s generally safe for watering non-edible plants and can be filtered for broader use. In theory, setting up a greywater system is straightforward. Divert drain pipes from acceptable sources, filter appropriately, store safely, and use as needed.
In practice, as I was about to discover, it’s a maddening process involving plumbing puzzles, local code interpretations, unexpected physics lessons, and the distinct possibility of turning your yard into an accidental swamp. My first step was research, which quickly showed me that there are roughly 7,492 ways to set up a greywater system, ranging from “bucket under the bathroom sink” simplicity to “basically build a water treatment plant in your basement” complexity. After considerable YouTube tutorials, online forums, and one very helpful book called “The New Create an Oasis with Greywater” (which has the distinction of being both incredibly informative and having graphics that look like they were drawn by a particularly enthusiastic middle schooler), I settled on a middle-ground approach.
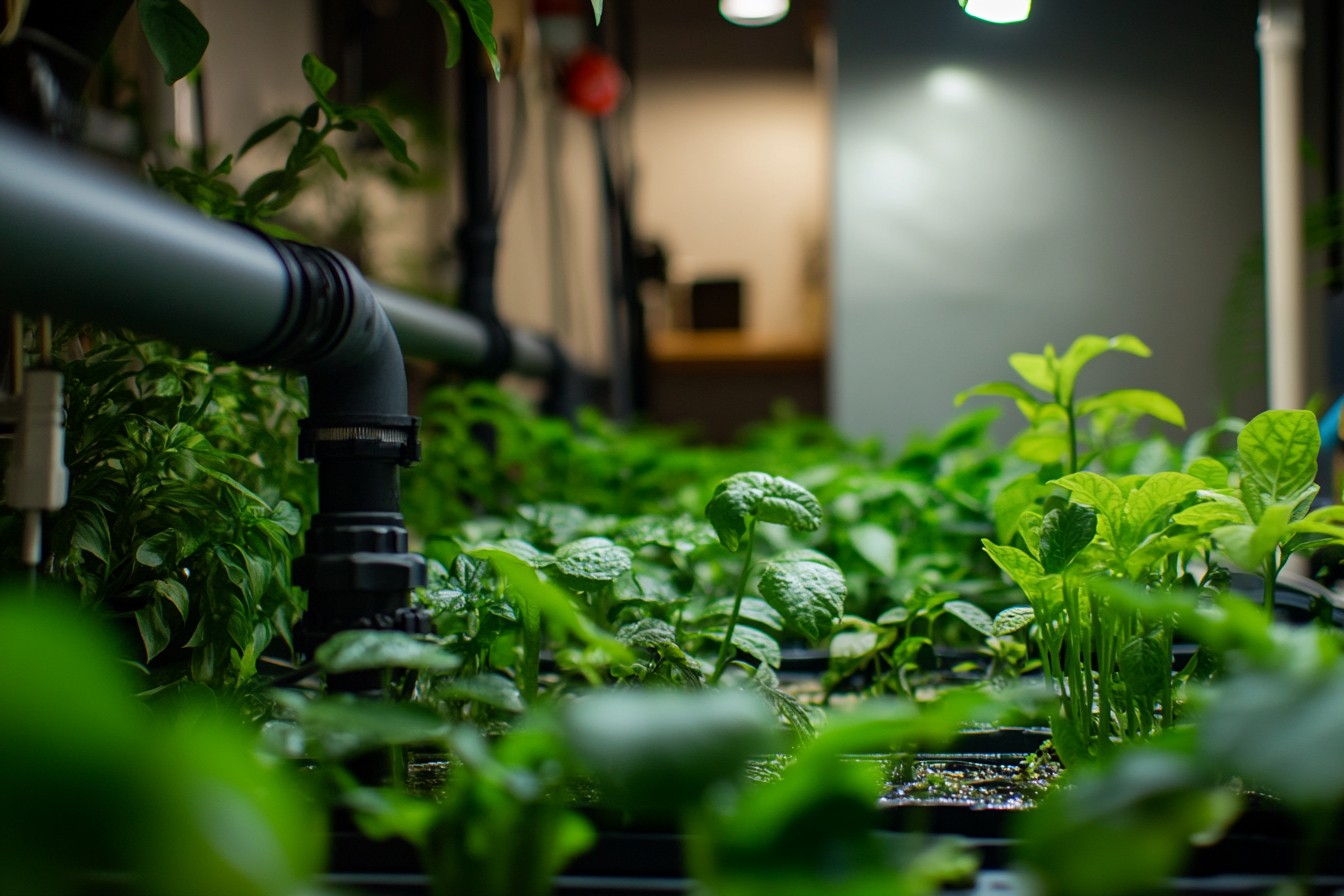
My plan: divert water from my washing machine (easiest access point), bathroom sink, and shower into a filtration system, then to a storage tank, with overflow directed to specific garden zones. My washing machine was already in a room with an exterior wall and direct garden access, which felt like the universe supporting my decision. The bathroom plumbing would be trickier, but doable since it was also on an exterior wall facing the yard.
Permits were the first unexpected headache. My city doesn’t have specific codes for residential greywater systems, which sounds great until you realize it means every inspector has their own interpretation of whether what you’re doing is brilliant or a public health nightmare waiting to happen. After three visits to the building department and one very confusing conversation where a clerk kept confusing “greywater” with “gray market water rights,” I finally got conditional approval based on a modified version of the state’s commercial guidelines.
The conditions were reasonable: no storage of greywater for more than 24 hours (to prevent bacterial growth), proper labeling of all greywater pipes and outlets, backflow prevention to protect the city water supply, and no spray irrigation with greywater (to prevent aerosolization of anything potentially harmful). Also, I couldn’t use greywater directly on edible portions of food plants, which meant my lettuce was out of luck, but my tomatoes, which grow above ground level, were fair game as long as I applied water to the soil, not the plant itself. With permits in hand, I started what I thought would be a weekend project.
I blocked out a Saturday and Sunday, bought supplies, watched installation videos repeatedly, and felt reasonably confident. By Sunday night, I had managed to flood my laundry room twice, create a leak in the bathroom wall that wouldn’t reveal itself until three days later when my neighbor downstairs came knocking, and accomplish approximately 15% of the project. The problem wasn’t the concept—it was the reality of working with an older house where no pipe was quite where it should be and every connection required custom adaptation.
The washing machine diversion was relatively simple with an aftermarket greywater diverter valve that let me switch between sending water to the sewer (for hot bleach loads or anything else I didn’t want in my garden) and the greywater system. The bathroom was another story. Rerouting the shower and sink drains without creating backflow issues or violating plumbing codes required the help of an actual professional, who took one look at my work, made that sucking-air-through-teeth sound that means “you’ve messed up spectacularly,” and quoted me a figure that made my wallet weep.
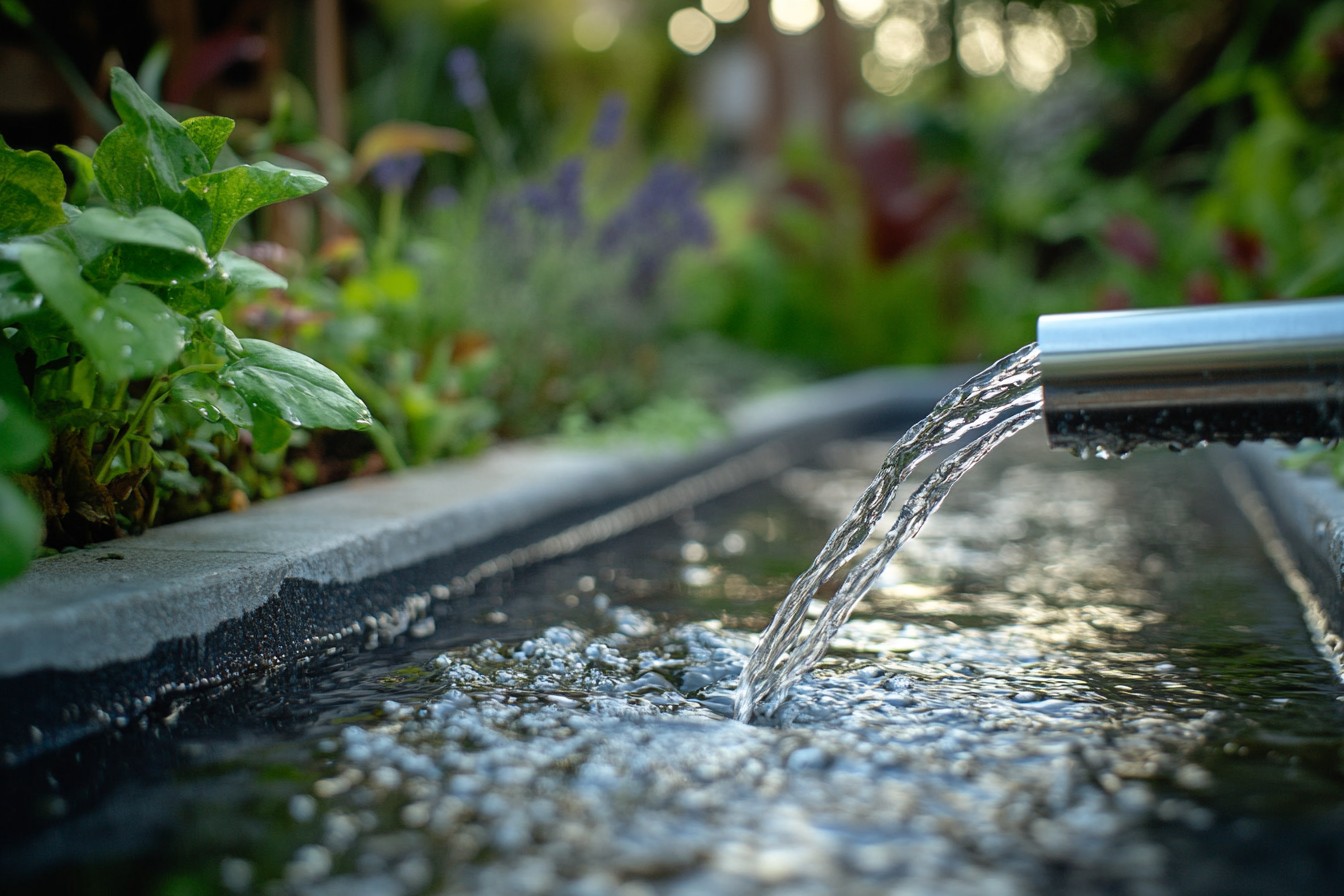
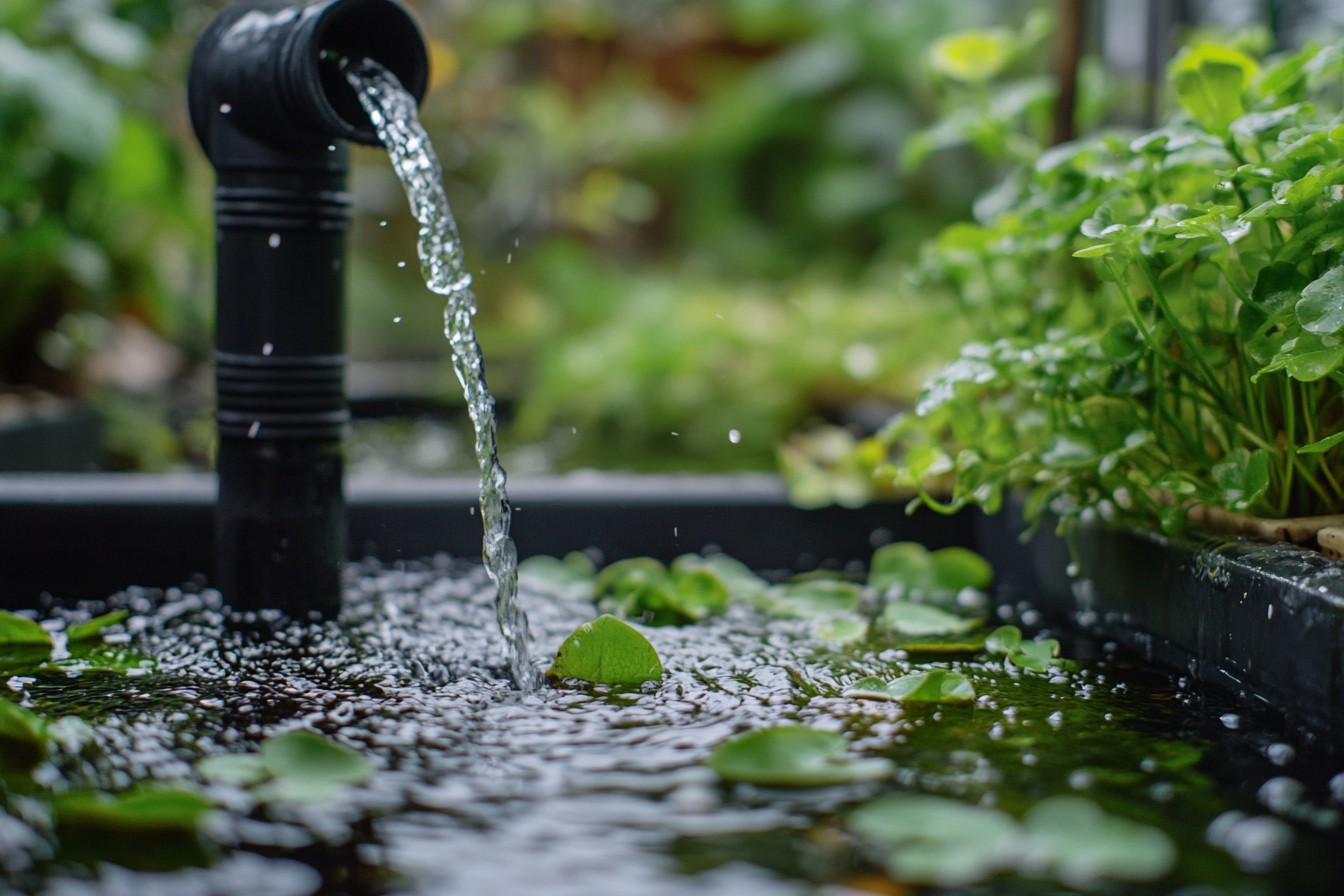
Two weeks and one refinanced mortgage later (I’m exaggerating, but barely), I had the basic plumbing in place. Water from approved sources could now be diverted to a series of filters before reaching a 75-gallon storage tank tucked alongside the house. From there, a small pump would move the water through irrigation lines to different garden zones as needed.
I also installed a simple first-flush diverter that would send the initial few gallons from each source (the dirtiest water) to the sewer, only capturing the cleaner water that followed. The filtration system was my own design, inspired by commercial models but built largely from components I either had or could easily acquire: a basic mesh filter to catch large particles and hair, followed by a mulch/sand/gravel filter for finer particulates, and finally activated charcoal to reduce soap residues and odors. I designed it as a modular system so I could easily access and clean or replace each component—a feature I would later be extremely grateful for.
With everything hooked up, labeled, and triple-checked, I ran my first load of laundry through the new system. Standing in the yard, watching the filtered water flow smoothly into my storage tank, I felt like some kind of ecological superhero. I’d done it!
I was saving water! I was sticking it to the drought! I was…about to learn some hard lessons about chemistry, biology, and the reality of living with your own mini water treatment system.
The first month was a honeymoon period. My system worked largely as intended. I felt smug every time I did laundry or took a shower, knowing that water was being captured and reused rather than wasted.
My water bill showed a modest decrease—about 15%—which wasn’t world-changing but definitely noticeable. The garden seemed to be thriving, though it was hard to tell if that was the consistent watering or the small amount of nutrients in the greywater. Then came July, with temperatures soaring to 98 degrees and humidity that made it feel like breathing through a wet towel.
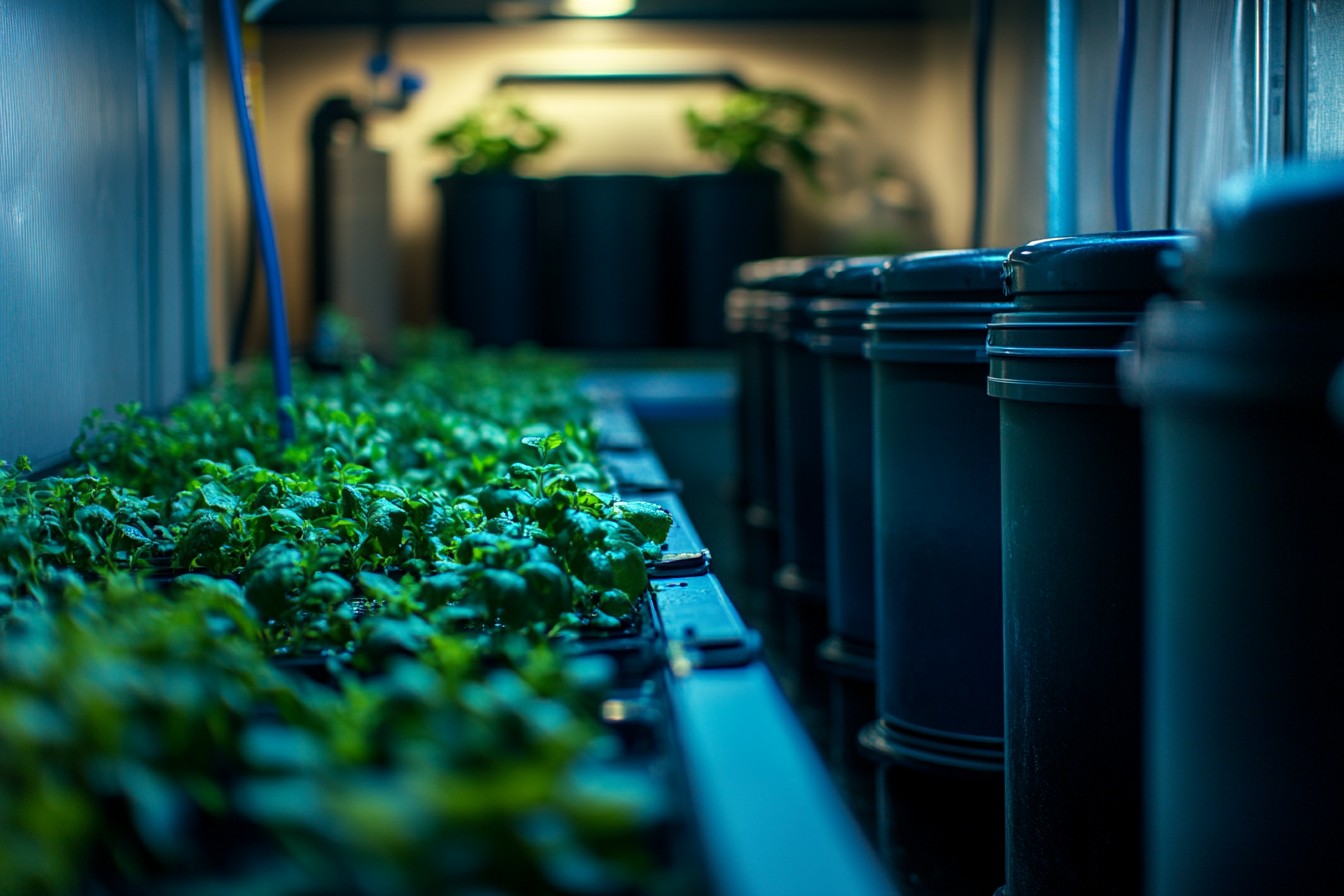
And that’s when I discovered the first major flaw in my system: smell. It turns out that warm temperatures, organic matter, and standing water create exactly the kind of environment that certain bacteria absolutely love. Even with my 24-hour usage rule, the tank and filtration system developed an odor that can only be described as “locker room sock left in gym bag for a month, then used to strain yogurt.”
After some panicked research, I added a UV sterilizer before the storage tank, which helped with the bacterial growth, but the real solution was increasing the filtration and being religious about regular system cleaning.
I hadn’t factored in the maintenance time—roughly 2-3 hours per week of cleaning filters, checking connections, and flushing lines. It was still worth it to me, but it definitely wasn’t the set-it-and-forget-it system I’d originally envisioned. The second challenge appeared in August: soap build-up.
Despite my filtration efforts, certain soaps and detergents weren’t being fully removed, leading to a gradual accumulation in the soil around my most-watered plants. The symptoms were subtle at first—slightly yellowing leaves on my normally robust pittosporum, a strange filmy appearance to the soil surface. I took soil samples and discovered elevated pH and some sodium accumulation, a common issue with greywater irrigation.
This required two adjustments: switching all household products to greywater-safe alternatives (generally low-sodium, boron-free, and biodegradable), and implementing occasional flush irrigation with fresh water to prevent build-up. My wife was surprisingly accommodating about changing all our soaps, shampoos, and detergents, though I suspect that had more to do with her appreciation of my obsessive garden tomatoes than genuine enthusiasm for the cause. September brought the next lesson: seasonal adjustments.
As the weather cooled, my garden’s water needs decreased, but my household water usage didn’t. Suddenly I had more greywater than I could use, even with the storage tank. My solution was to add a rain garden—a slightly depressed area with water-loving plants and good drainage—where excess greywater could be safely directed.
This worked beautifully until the first heavy rain of fall, when I discovered that combining rainwater with a saturated rain garden creates what landscapers diplomatically call “unexpected water features” and what my neighbor called “that swamp thing happening in your side yard.”
Additional drainage was installed. Winter brought its own challenges. While our climate rarely sees freezing temperatures, we did have a cold snap in December that threatened exposed pipes.
The washing machine diverter was in an unheated space, and I hadn’t properly insulated the outdoor components. One morning I discovered a partially frozen filtration system and had to quickly revert to standard drainage while frantically thawing things out with a hair dryer like some kind of demented plumber-stylist hybrid. More insulation was added, along with heat tape on particularly vulnerable sections.
By spring, I had worked out most of the major kinks. The system ran smoothly with reasonable maintenance, my garden was thriving, and my water bills had stabilized at about 25% lower than the previous year. The savings weren’t massive in absolute dollars—about $23 per month on average—but the real value was drought resilience.
When water restrictions hit again in May, my garden continued to receive consistent irrigation while my neighbors’ yards turned crispy. The plant results were the most surprising part of the whole experiment. I’d expected the greywater to be merely adequate—better than no water, but not ideal for plant health.
Instead, certain plants absolutely thrived on the slightly nutrient-rich water. My ornamental grasses, native shrubs, and perennial flowers grew with unprecedented vigor. The tomatoes produced abundantly, though I was careful to apply water only to the soil, not the fruits or foliage.
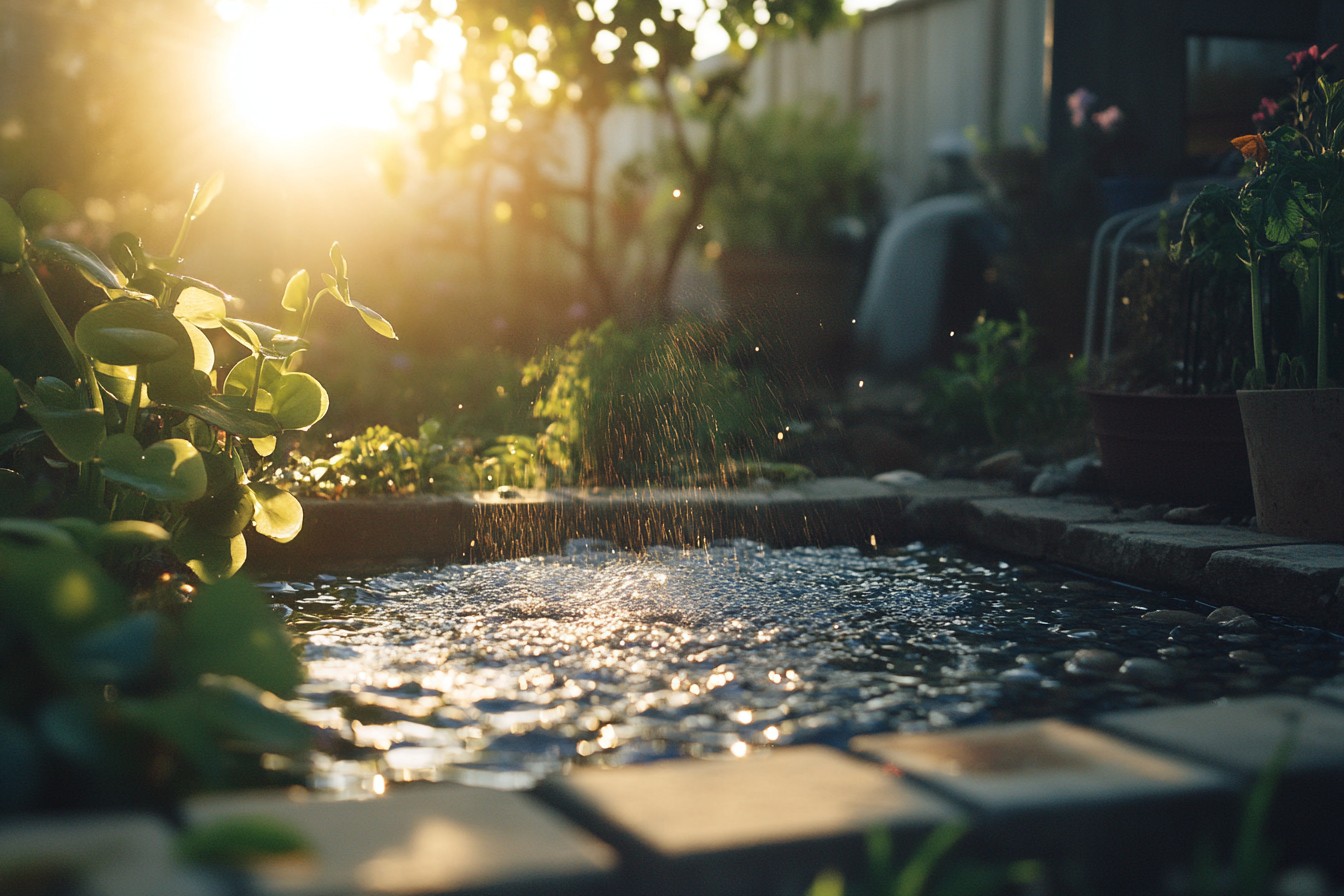
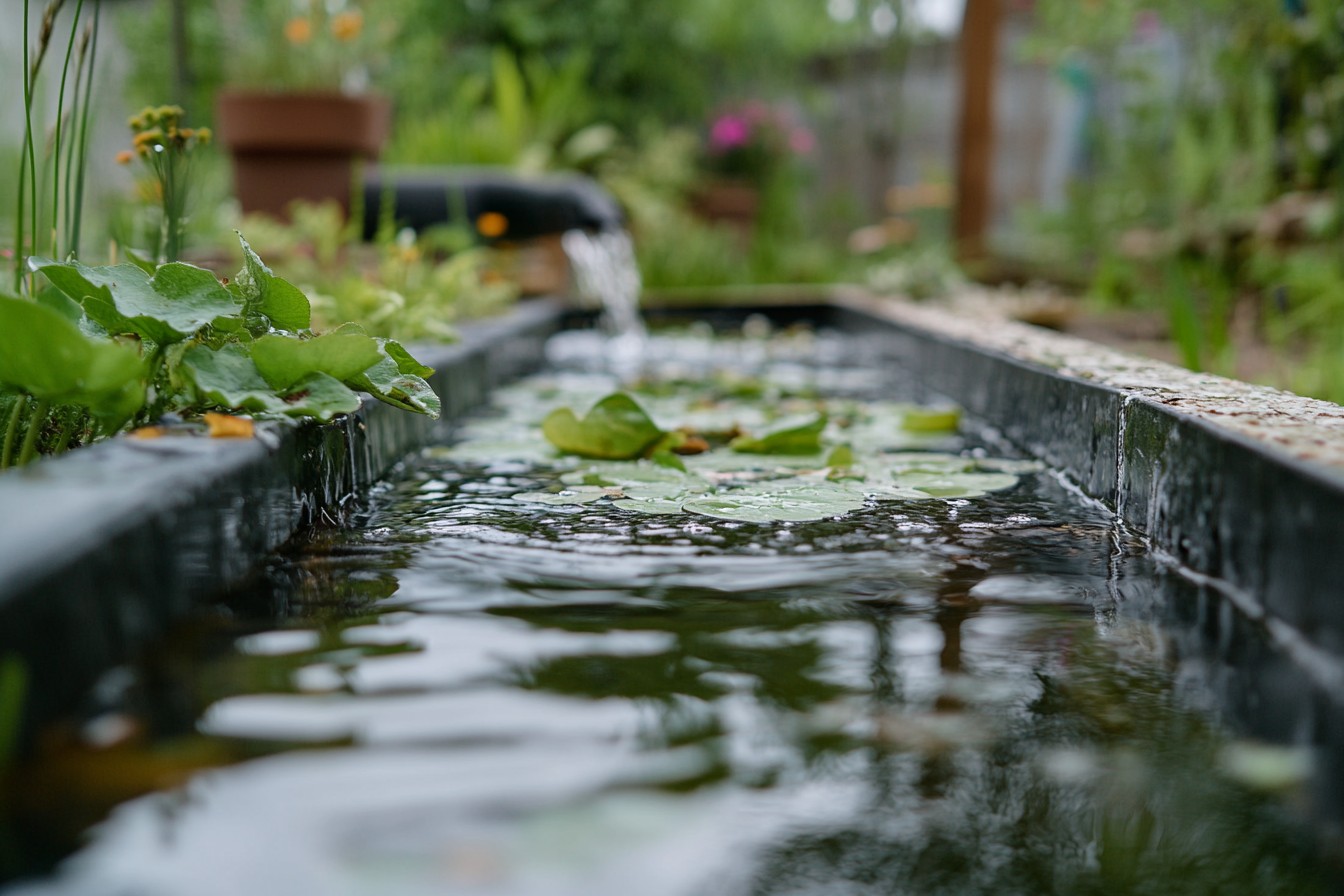
A few plants didn’t appreciate the greywater as much—particularly acid-loving species like azaleas and blueberries, which struggled with the slightly alkaline pH from soap residues. I ended up creating separate irrigation zones for these sensitive plants, reserving captured rainwater and occasional fresh water for their needs. The before/after comparison was striking.
Photos from the previous summer showed a garden that was surviving but stressed, with yellowing lawn edges and plants that flowered briefly before going into water-conservation mode. The post-greywater garden was lush without being wasteful, with plants that maintained vigor through heat waves and bounced back quickly from stress. The soil itself seemed improved—more friable and moisture-retentive—possibly from the small amounts of organic material in the greywater.
While I’d originally been motivated purely by water conservation, I discovered unexpected benefits beyond the garden. Thinking about what goes down my drains has made me more conscious of the products we use in our home. We’ve switched to simpler, more environmentally friendly soaps and detergents, eliminated most harsh chemicals from our cleaning routine, and generally become more aware of our household’s downstream impact.
The final tally after one full year: My water usage decreased by approximately 27,500 gallons—roughly the equivalent of 458 bathtubs full. My annual water bill decreased by $276, against an initial system cost of about $1,400 (including the professional plumbing help and my rookie mistakes). At that rate, the system will pay for itself in about five years, not counting the less tangible benefits of a healthier garden and drought resilience.
Was it worth it? Absolutely, though I wouldn’t describe it as an easy project. There were moments—like when I was lying on my back under the house at 10 PM on a work night, covered in mysterious pipe grime and questioning my life choices—when I would have enthusiastically told you it wasn’t.
But now, watching my garden flourish through another drought while using a fraction of the municipal water, I’m convinced. If you’re considering your own greywater system, here’s my hard-earned advice: Start small—maybe just the washing machine, which is typically the easiest to divert and provides relatively clean water. Research your local codes thoroughly before cutting into any pipes.
Budget for professional help with the plumbing unless you’re already skilled. Buy the best filters you can afford, and make them accessible for cleaning. And most importantly, be prepared to treat the system as a part-time relationship, not a one-and-done project.
Also, maybe warn your neighbors before you accidentally create a swamp in your side yard. Just a thought.