The first hydroponic system I ever built cost me $743. It was a sleek, pre-fabricated NFT system with digital monitoring, automatic dosing, and a user interface that looked like it belonged on a spaceship. I spent three weeks obsessively adjusting settings and worrying about nutrient ratios down to the decimal point.
Then I killed every single plant I put in it because I overthought everything and couldn’t leave well enough alone. Expensive lesson learned. My current hydroponic system costs about $37 per plant to build, uses hardware store buckets instead of fancy food-grade plastics, runs on an air pump I bought on clearance, and produces more food than I can reasonably eat.
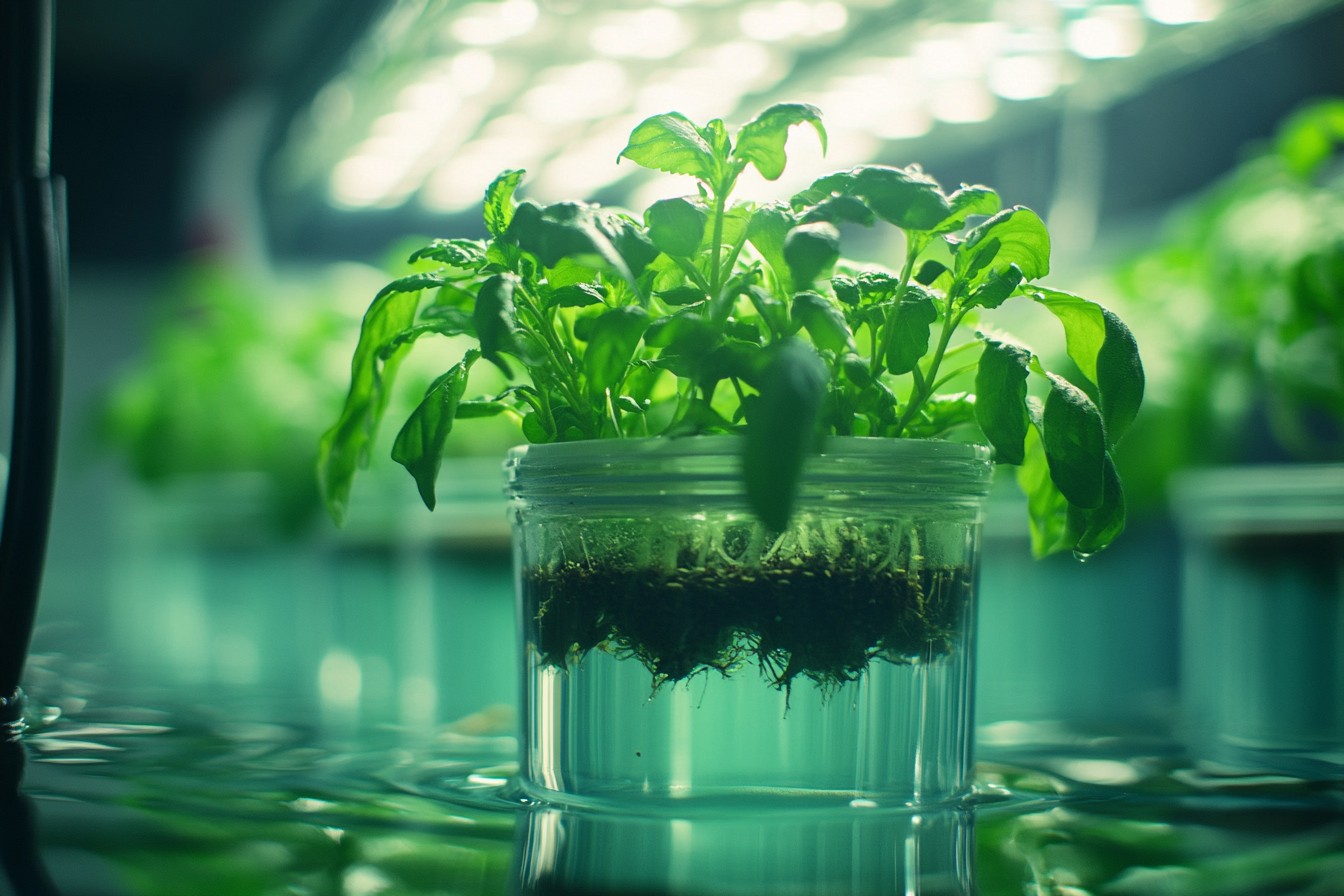
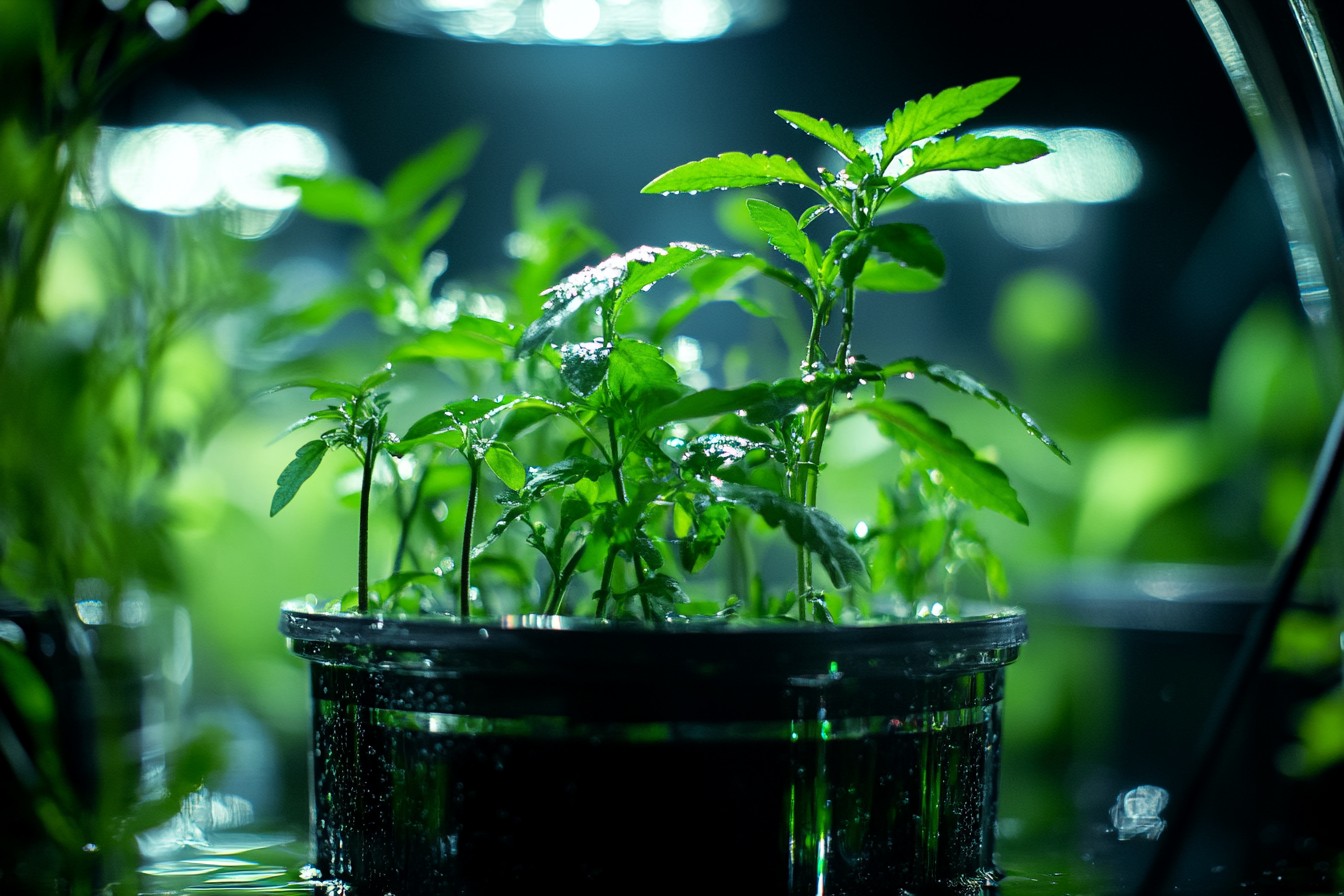
It turns out that plants don’t care about aesthetics or brand names. They just want the right conditions to grow, which you can provide without taking out a small loan. So let me walk you through my “DWC bucket system for the rest of us” – the setup I’ve refined over three years of trial, error, and occasional swearing when I drill holes in the wrong places.
This is deep water culture at its most basic and functional, with all the essentials and none of the unnecessary bells and whistles that manufacturers want you to think you need. First, let’s talk components. For each plant site (I recommend starting with just 1-2 until you get the hang of things), you’ll need:
– One 5-gallon bucket with lid: $4.98 each at most hardware stores.
The black or dark-colored buckets are best as they block light and prevent algae growth, but white ones painted black on the outside work fine too. Avoid clear or translucent buckets at all costs. I learned this lesson with my first attempt, which quickly turned into an impressive algae farm with a side hustle in growing plants.
– One 3-inch net pot: $1.25 each. These are the little plastic baskets that hold your plant and growing medium. You could go with 2-inch pots for smaller plants like lettuce, but for anything substantial like tomatoes or peppers, the 3-inch size gives better stability as the plant gets larger.

I’ve tried the fancy “self-centering” ones, and honestly, they’re not worth the extra cost. – Expanded clay pellets (LECA): About $7 for enough to fill 4-5 net pots. This is the growing medium that supports your plant while allowing the roots to access water and oxygen.
You can reuse these basically forever if you clean them between grows, making them extremely economical long-term. I’m still using some of the same clay pellets from my very first system four years ago. – Air pump: $15-20 for a basic model that can handle 2-4 buckets.
These are essentially the same as aquarium pumps, just marketed differently and priced higher when sold as “hydroponic supplies.” I use a Tetra Whisper aquarium pump rated for a 20-gallon tank, which easily handles two buckets and is significantly cheaper than identical pumps sold as hydroponic equipment. – Air stones: $2-3 each. I prefer the cylinder-shaped stones as they seem to distribute air more evenly through the nutrient solution.
The cheap round ones work fine too, but they tend to need replacing more often. I buy mine in packs of 5 for about $10 total. – Air line tubing: $3-4 for 25 feet, which is way more than you’ll need initially.
Get the standard 3/16″ size that fits most pumps, and avoid the super cheap clear plastic tubing that tends to harden over time. I’ve had good luck with the slightly better black tubing. – Hydroponic nutrients: $20-30 for a starter kit that will last a surprisingly long time.
I use the General Hydroponics Flora series (Micro, Grow, and Bloom) because it’s readily available and forgiving for beginners. A quart of each will last you a full year or more with a small system. I went through three different nutrient brands before settling on this one – not because it produces dramatically better results, but because it’s simple to use and reasonably priced.
– Optional but highly recommended: pH testing kit ($10-15) and pH Up/Down solutions ($15-20). Digital pH meters are nice but honestly overkill for a small setup. The liquid test kits with color charts work perfectly fine.
Total cost per plant site: About $37, assuming you already have basic tools like a drill and a hole saw bit (which you can borrow if needed). This is approximately 1/20th the cost of my original ill-fated system on a per-plant basis, with functionally identical results. Now let’s build this thing.
Step 1: Prepare the bucket lid. This is where most people get stuck thinking they need fancy specialized equipment. You don’t.
I use a 3-inch hole saw attachment for my drill, which cost me $12 at the hardware store and has served me faithfully through dozens of bucket lids. The hole saw creates a perfectly sized opening for the 3-inch net pot. Center the hole in the bucket lid (I use a ruler to measure from the edges, because I’m that kind of person) and drill slowly to avoid cracking the plastic.
If you don’t have a hole saw, you can use a regular drill bit to make a series of small holes around the circumference of a 3-inch circle, then connect the dots with additional drilling or a utility knife. It’s not as pretty, but it works fine. Step 2: Prepare the air system.
Drill a small hole (about 1/4 inch) in the side of the bucket, approximately 1-2 inches below the lid. This is where your air line will enter. Make this hole just big enough for the tubing to fit snugly through – too large and you’ll have leaks; too small and you’ll kink the tubing.
I learned through messy trial and error to drill this hole above the water line you plan to maintain. My first bucket had the hole too low, and when I removed the lid to check on plants, water would come spurting out like a sad little fountain. Not catastrophic, but definitely annoying when you’re wearing nice clothes.
Cut a length of air line tubing that will reach from your air pump to the bottom of the bucket with a little slack. Connect one end to the air pump and thread the other end through the hole you just drilled. Inside the bucket, attach the air stone to the end of the tubing and place it at the bottom, ideally centered underneath where the net pot will sit.
Step 3: Prepare the growing medium. Expanded clay pellets need to be rinsed thoroughly before use to remove dust and debris. I soak mine for about 2 hours in pH-adjusted water (aim for 5.8-6.2 pH), then rinse until the water runs clear.
This step is tedious but important – unwashed clay pellets can affect your water chemistry and potentially harm young plants. Fill your net pot about halfway with the prepared clay pellets. This creates a base for your plant while leaving room to add more pellets around the roots once it’s in position.
Step 4: Prepare your nutrient solution. Fill the bucket with water, leaving about 2-3 inches of space at the top. I use filtered water because my tap water is excessively hard, but regular tap water works fine for most people if you let it sit out for 24 hours to allow chlorine to dissipate.
Add nutrients according to the manufacturer’s instructions for your specific plant type. For beginners, I recommend starting at about 50-75% of the recommended strength. You can always increase concentration later, but nutrient burn from too-strong solution is hard to recover from.
For my pepper plants, I typically start with 700-800 PPM (parts per million) and work up to 1200-1400 PPM as they mature. Adjust the pH of your solution to the appropriate range for your plants. Most vegetables prefer slightly acidic conditions:
– Leafy greens: 5.5-6.5 pH
– Fruiting plants (tomatoes, peppers): 5.8-6.3 pH
– Herbs: 5.5-6.5 pH
If you don’t have a fancy pH meter, the color-matching test kits work perfectly fine.
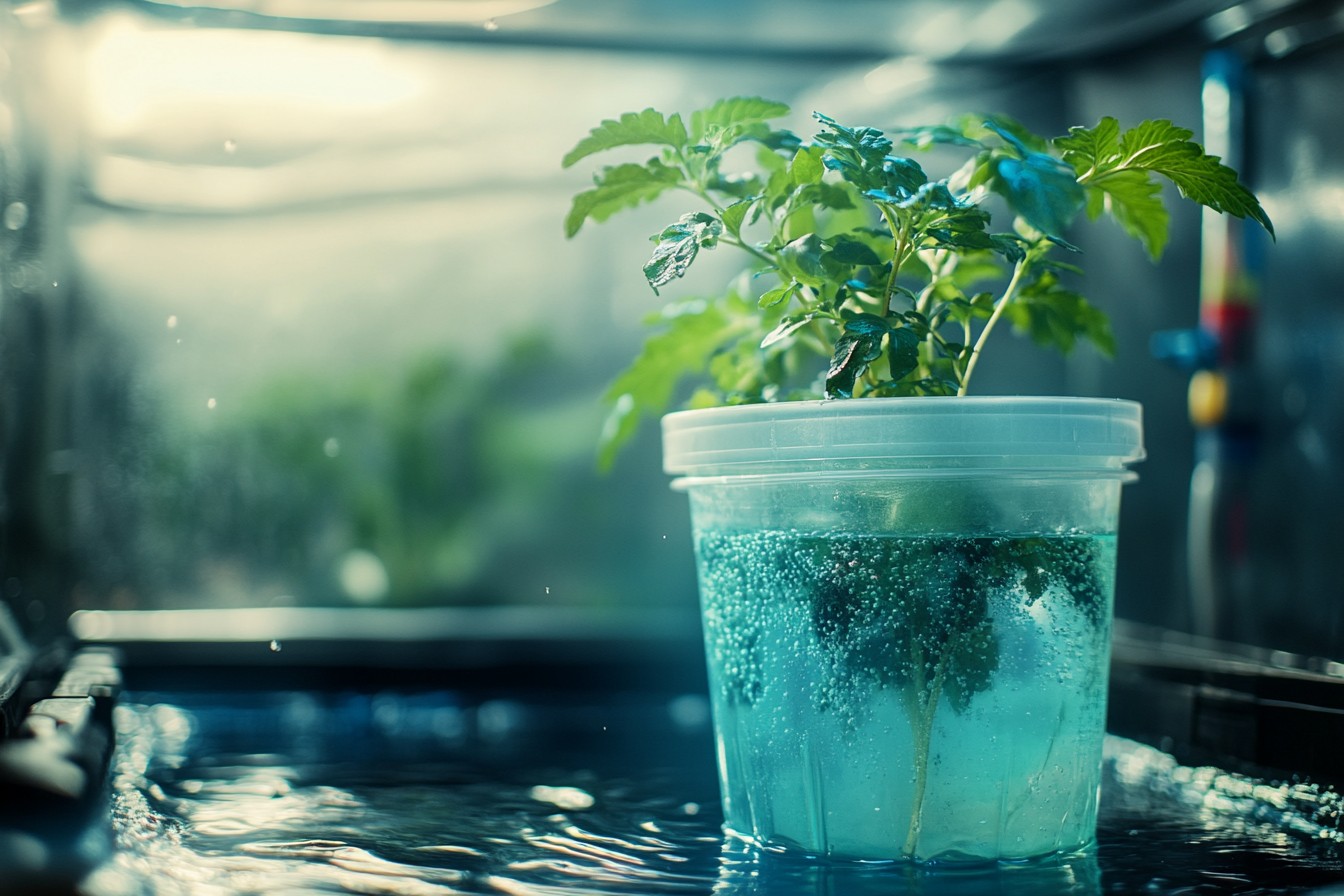
I used one exclusively for my first two years of hydroponic growing with no issues. Step 5: Assemble the system. Place the bucket lid (with pre-drilled net pot hole) onto the filled bucket.
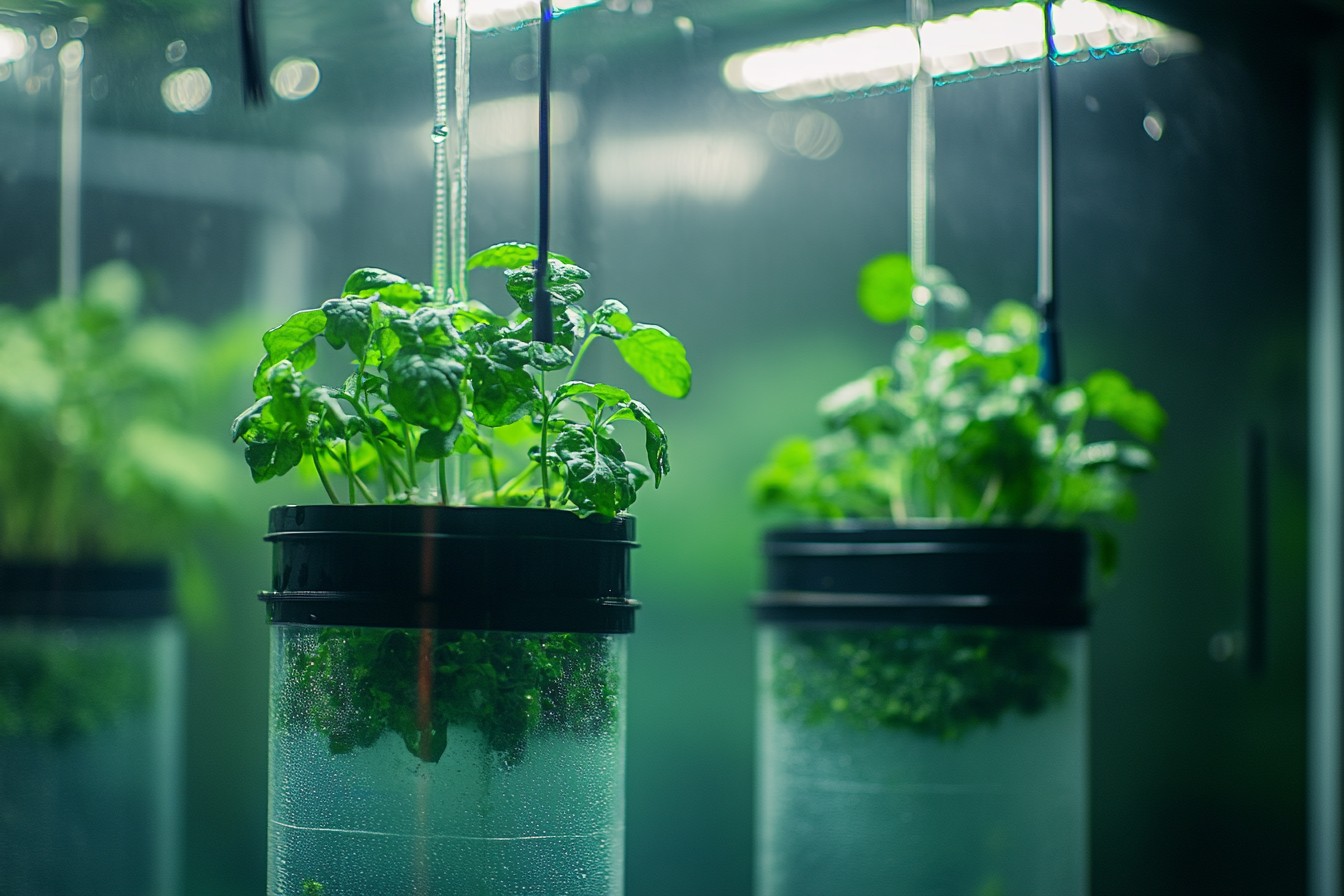
Insert your net pot with the clay pellets into the hole. Plug in your air pump, and verify that you can see bubbles coming up through the nutrient solution. The bubbling action is vital – it’s what provides oxygen to the roots and prevents them from drowning.
The water level should be just touching the bottom of the net pot – close enough that the clay pellets can wick moisture up to the plant roots, but not so high that your plant is sitting in water. About 1/2 to 1 inch below the bottom of the net pot is the sweet spot. This encourages roots to grow downward in search of water while keeping the stem and crown of the plant dry to prevent rot.
Step 6: Add your plant. For best results, start with seedlings that already have a small root system established rather than trying to germinate seeds directly in the system. I typically start my seeds in small rock wool cubes, wait until they have 2-3 sets of true leaves and visible roots extending from the cube, then place the entire rock wool cube into the net pot, nestled among the clay pellets.
Gently add more clay pellets around the plant to support it, being careful not to damage the stem or existing roots. The top of the rock wool cube should be level with or slightly above the clay pellets to prevent it from staying too wet. Step 7: Maintenance routine.
This is where my DIY bucket system really shines in its simplicity. Here’s the maintenance schedule I follow:
Daily: Check water level and top off with plain water (not nutrient solution) as needed. Plants will consume water faster than nutrients, so adding just water maintains the proper concentration.
A simple visual check takes 10 seconds. Weekly: Check pH and adjust if necessary. This takes about 2 minutes with a liquid test kit.
I use a plastic turkey baster (dedicated to the garden, not the kitchen!) to extract small samples for testing. Every 2 weeks: Check nutrient concentration (if you have a PPM meter) or simply change 1/4 of the solution by removing some and replacing with freshly mixed nutrient solution. Every 4-6 weeks: Complete solution change.
I remove the plant and bucket lid as a unit, empty and rinse the bucket, then replace with fresh nutrient solution. This takes about 10 minutes per bucket. That’s it – a fully functional deep water culture system for less than $40 per plant.
No digital controllers, no automated dosing pumps, no smartphone apps, and most importantly, no unnecessary complications. Some practical tips I’ve learned from my many mistakes:
Location matters more than you think. My first bucket system was placed right next to a window that got afternoon sun.
The additional heat caused the water temperature to climb to 78°F on warm days, which is fine for some plants but led to root issues with others. I now keep my buckets in a spot with stable temperature, away from direct sunlight, heating vents, or exterior walls that get cold in winter. Plant spacing is critical.
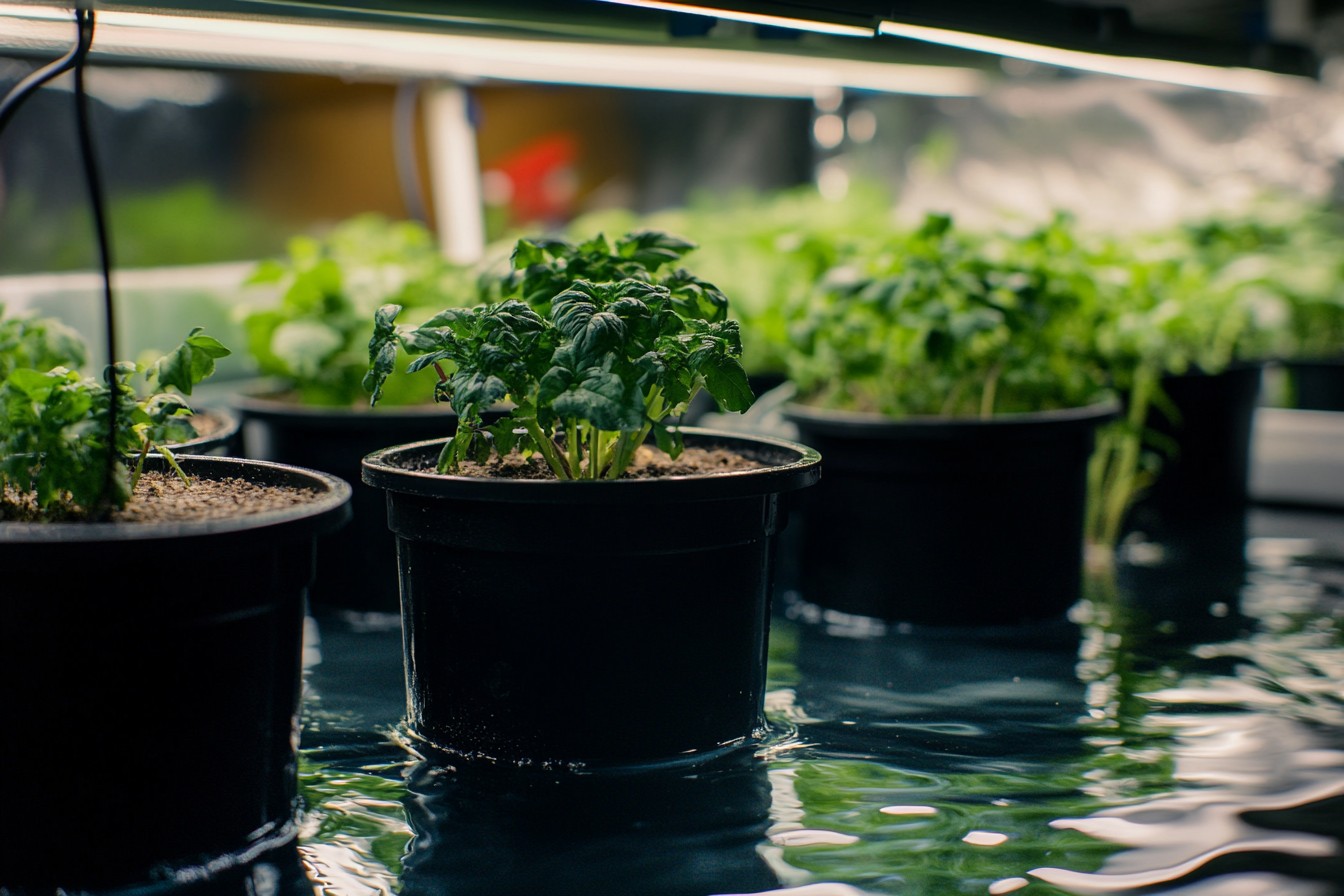
I initially tried to cram too many buckets into a small space, which led to poor air circulation and eventually powdery mildew issues. Each bucket needs room around it for air flow, access for maintenance, and proper light distribution. I now space my buckets about 18 inches apart center-to-center, which seems to be the sweet spot for both space efficiency and plant health.
Connecting multiple buckets together with a single air pump works, but introduces potential problems. I tried running four buckets off one pump using a manifold to split the air flow. It worked, but if one plant developed root issues, they all seemed to suffer.
I’ve since gone back to individual air lines from a central pump, which provides some isolation between plants. The “bucket lid lift” issue is real and annoying. As plants grow roots into the nutrient solution, they can actually create enough pressure to lift the entire lid when you try to remove it for maintenance.
My solution is embarrassingly low-tech but works perfectly: I use two small bungee cords crossed over the top of each lid, hooked to the bucket handles. This keeps everything securely in place but is easy to remove when needed. Light leakage through white bucket lids leads to algae growth.
I spray paint the tops of white lids with flat black paint before drilling holes in them. This simple step saves a lot of headaches later. Buckets expand and contract with temperature changes, which can stress your plants.
I learned this after noticing that some of my plant stems were getting damaged where they contacted the net pot. I now make sure there’s a small gap around the stem rather than packing clay pellets tightly against it. Winter heating is a challenge.
When my apartment temperature drops below 65°F at night in winter, the nutrient solution temperature follows. Cold roots = slow growth. I wrap my buckets with reflective insulation (basically bubble wrap with foil on both sides) during winter months, which maintains more stable temperatures.
It looks ridiculous but works. The simplest system is usually the most reliable. Every time I’ve tried to “upgrade” with fancy components or automation, I’ve introduced new points of failure.
The basic bucket system just works, consistently and reliably. After three years and countless harvests, my $37-per-plant bucket system has produced more vegetables than the $743 system ever did. It’s a reminder that plants don’t care about brand names or sleek designs – they just want the right conditions to grow.
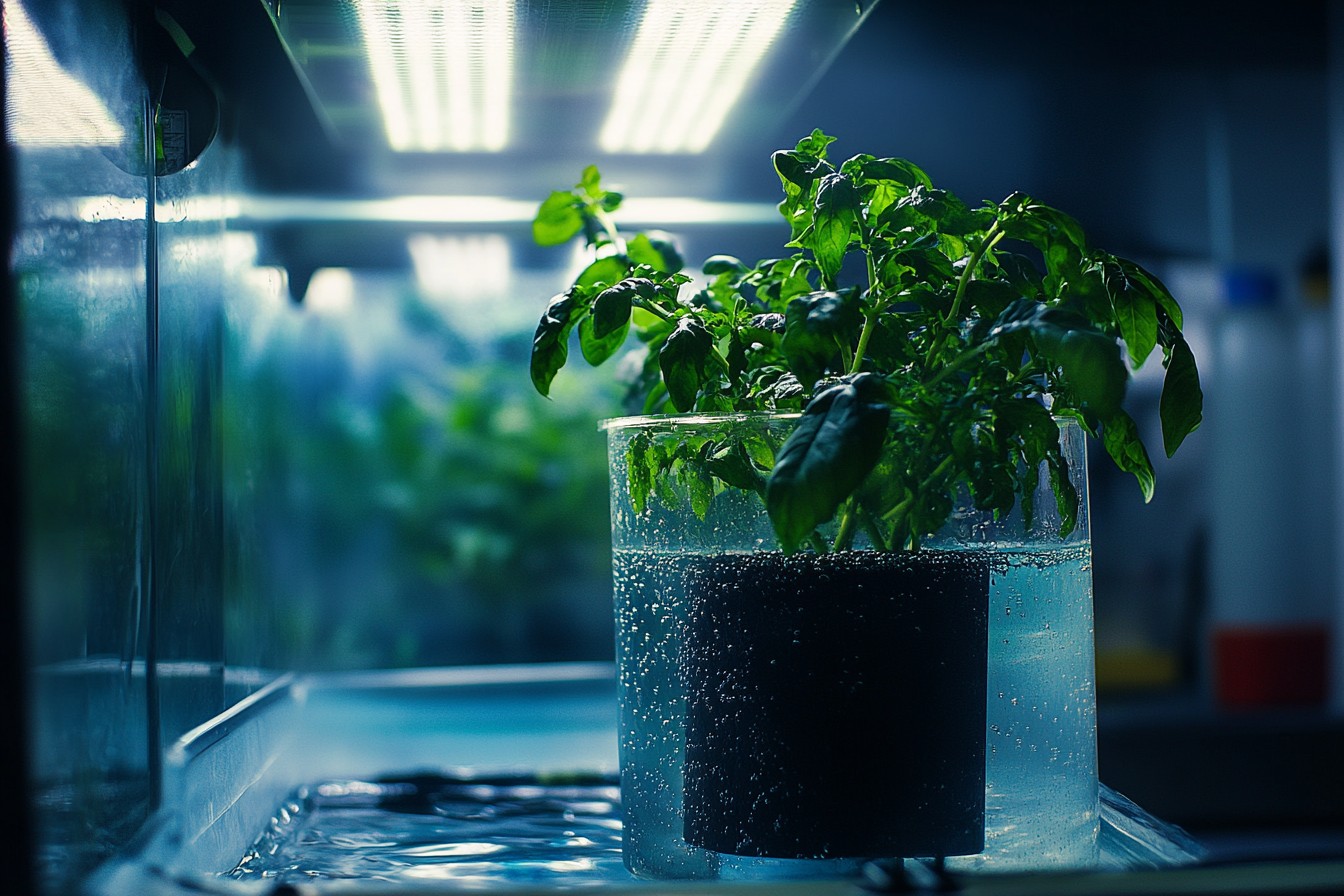
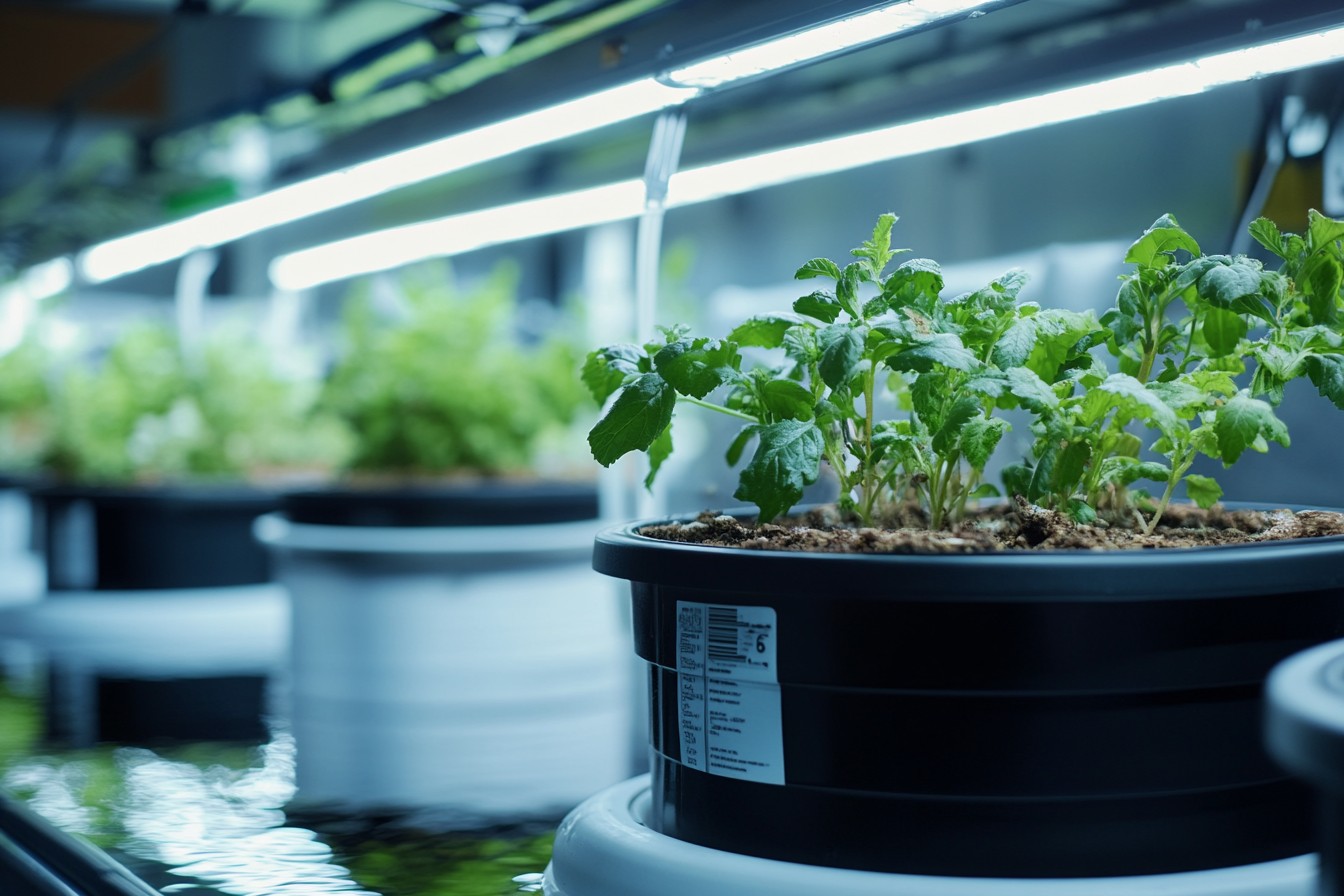
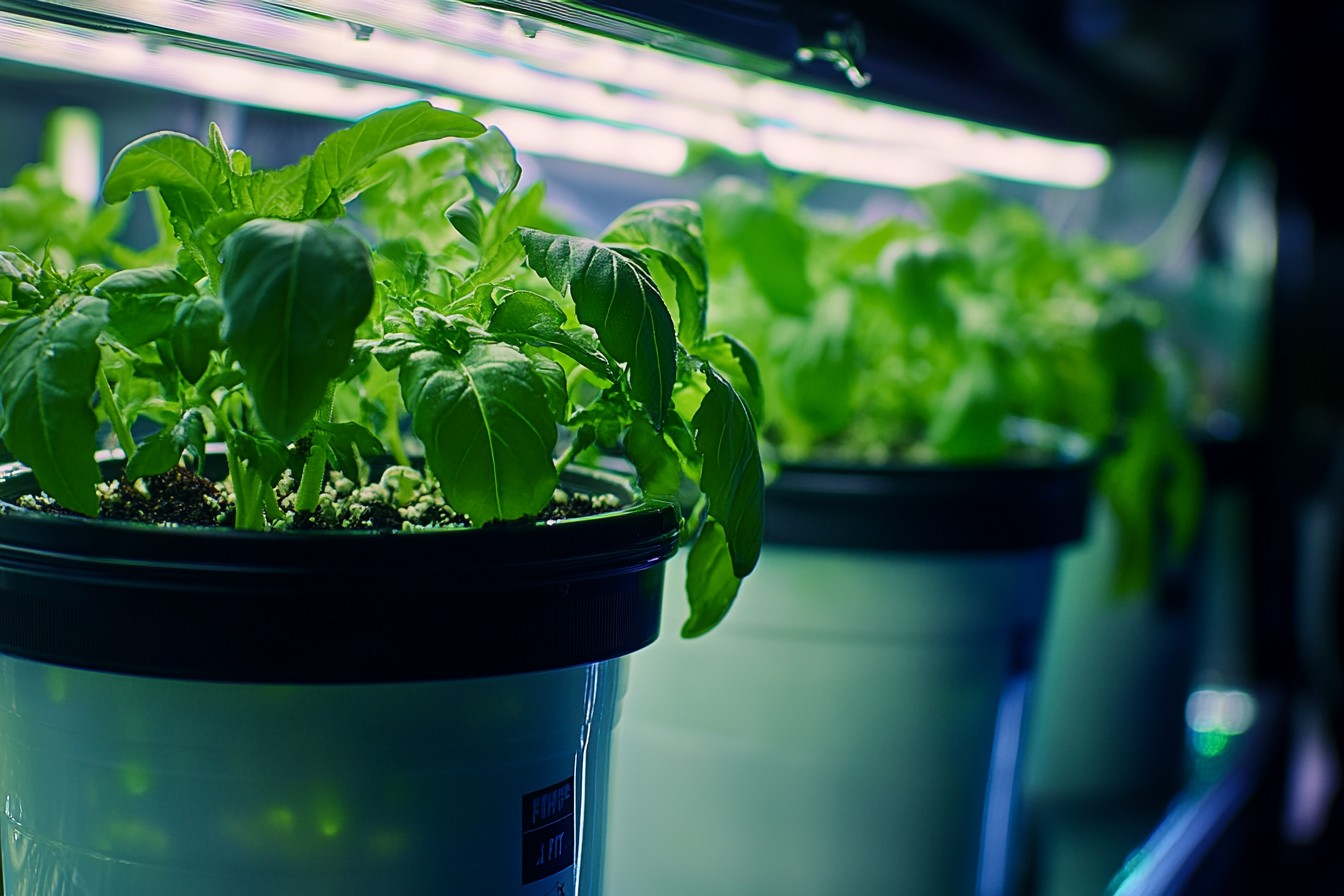
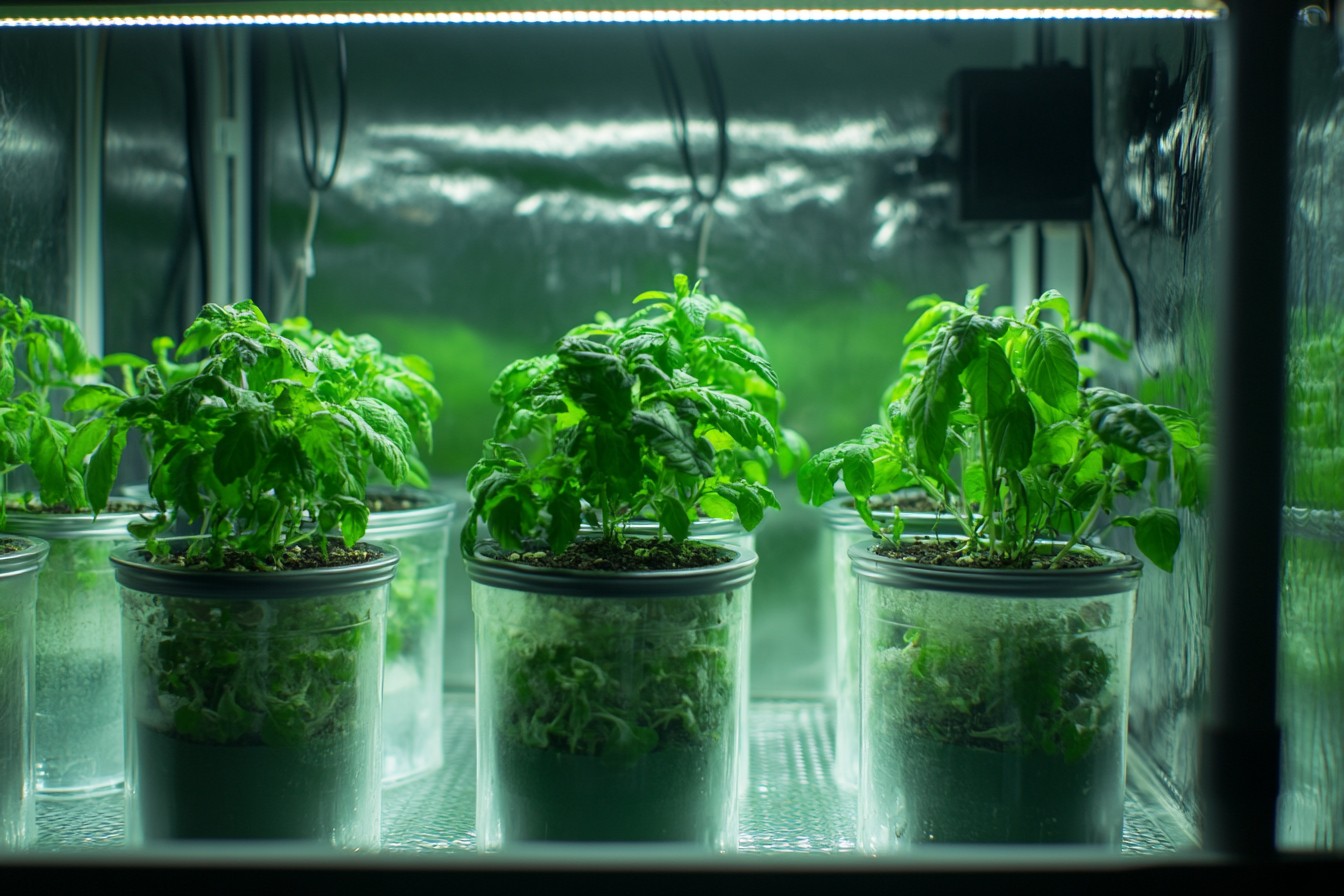
Sometimes the humble bucket provides exactly that. My current setup produces year-round harvests of peppers, tomatoes, basil, and lettuce, all grown in these simple buckets under LED lights in my spare bedroom. The total annual yield from six buckets is approximately 87 pounds of produce, for a materials cost of around $222 (buckets, net pots, air system, nutrients) plus about $176 in electricity for grow lights and air pumps.
That’s roughly $4.57 per pound of hyperlocal, pesticide-free produce grown 8 feet from my kitchen. Is it cheaper than buying vegetables? Probably not, though it’s getting closer as grocery prices continue to climb.
But the satisfaction of harvesting sun-warm tomatoes in the middle of a snowstorm? That’s priceless. And all it takes is a few buckets, some bubbles, and plants that don’t care how much their home cost as long as it meets their needs.