I used to think watering a vertical garden would be easy. I mean, water flows downward, right? Gravity does the work for you!
Just dump some water at the top, and physics takes care of the rest. Turns out, physics is kind of a jerk when it comes to vertical gardens, and I learned this the hard way after killing approximately $87 worth of succulents and herbs in my first attempt at vertical gardening. This was back in 2016, right after I’d moved into my warehouse apartment.

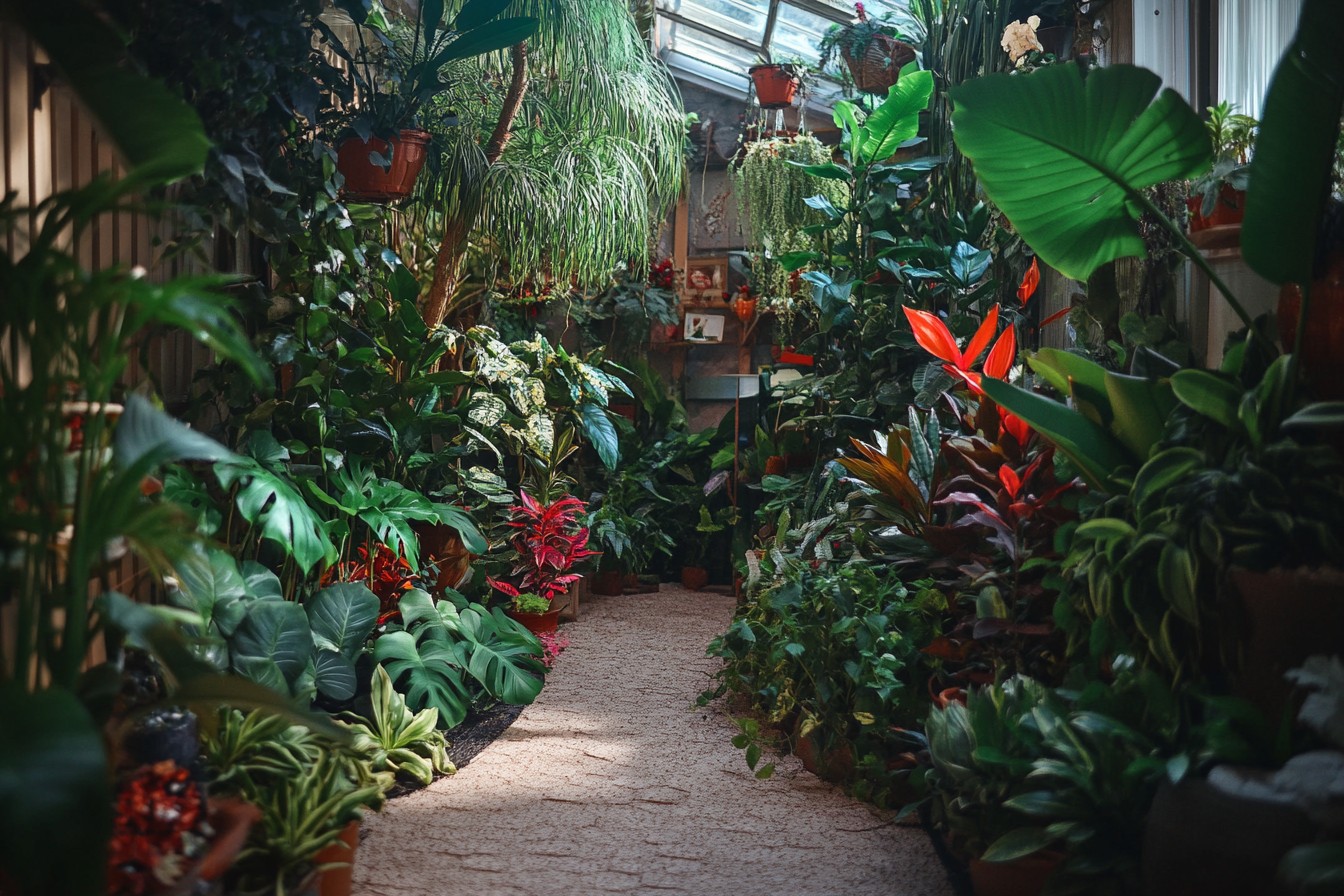
I had this perfect wall—brick, south-facing, basically begging for plants. I built what I thought was a pretty clever setup using modified shoe organizers (you know, those hanging fabric things with pockets). I reinforced the pockets, drilled drainage holes, filled them with soil, and arranged my plants in a pleasing pattern that I was sure would impress visitors and make my Instagram followers deeply jealous.
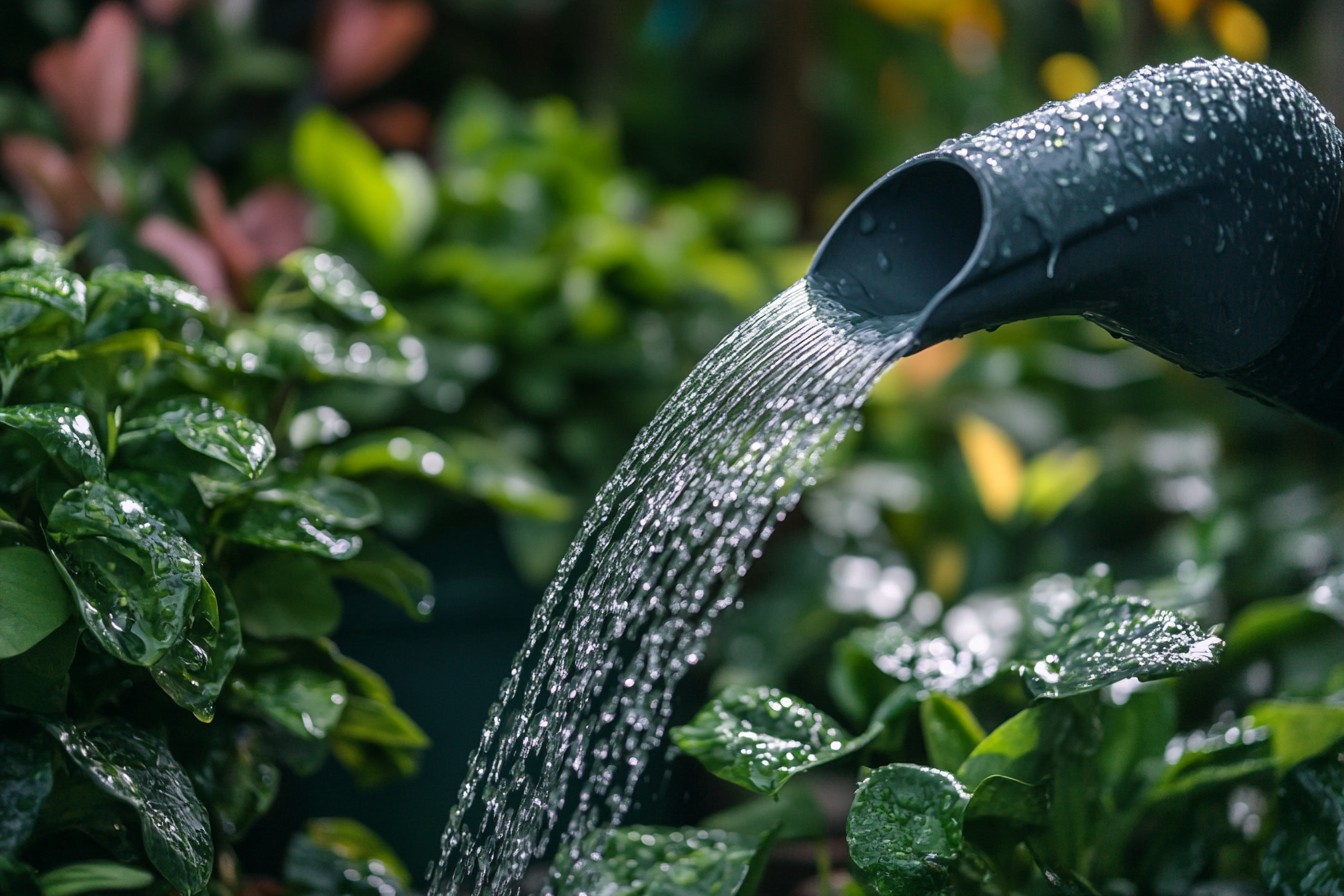
The watering plan was straightforward: pour water into the top row and let it trickle down through each layer. Efficient! Economical!
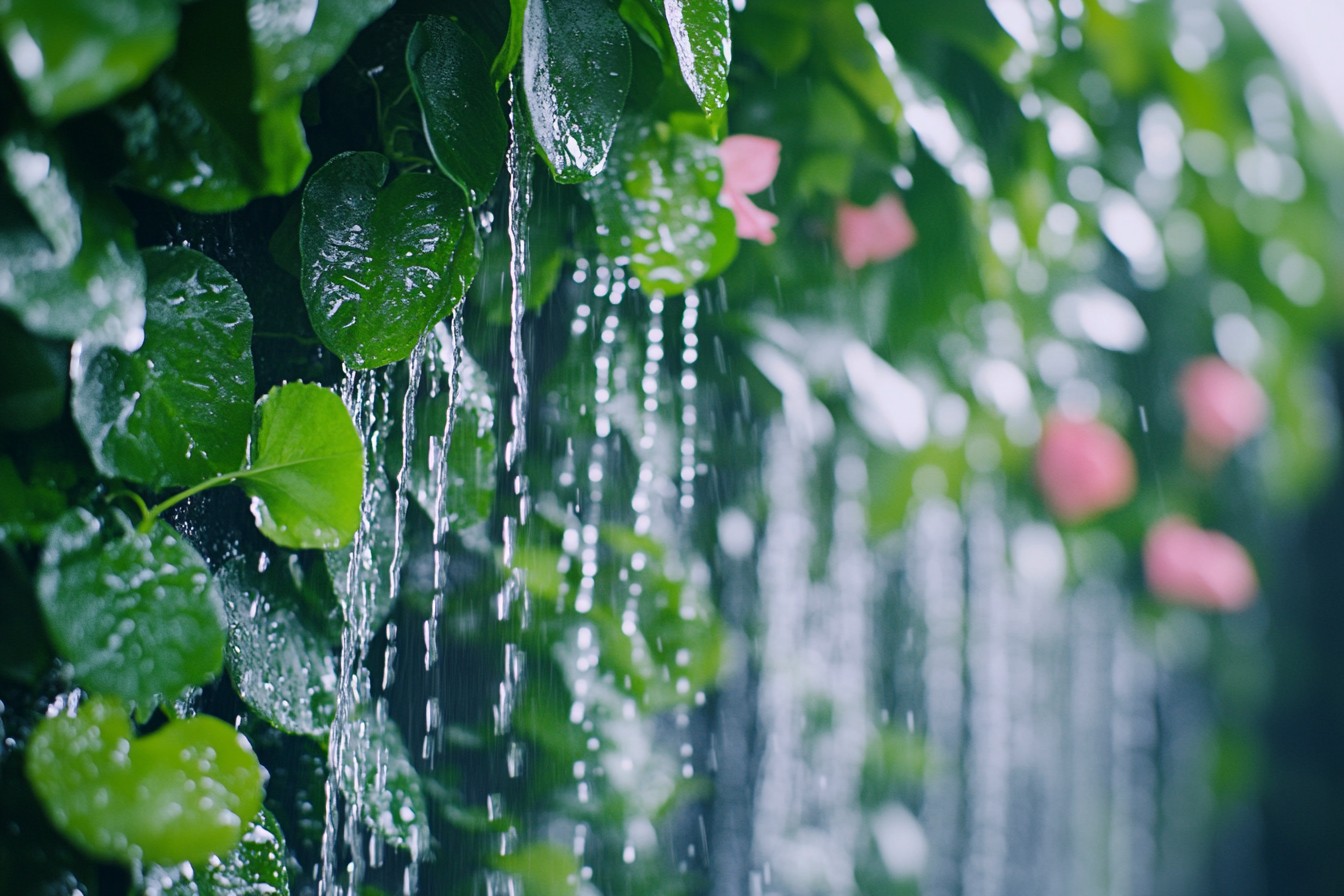
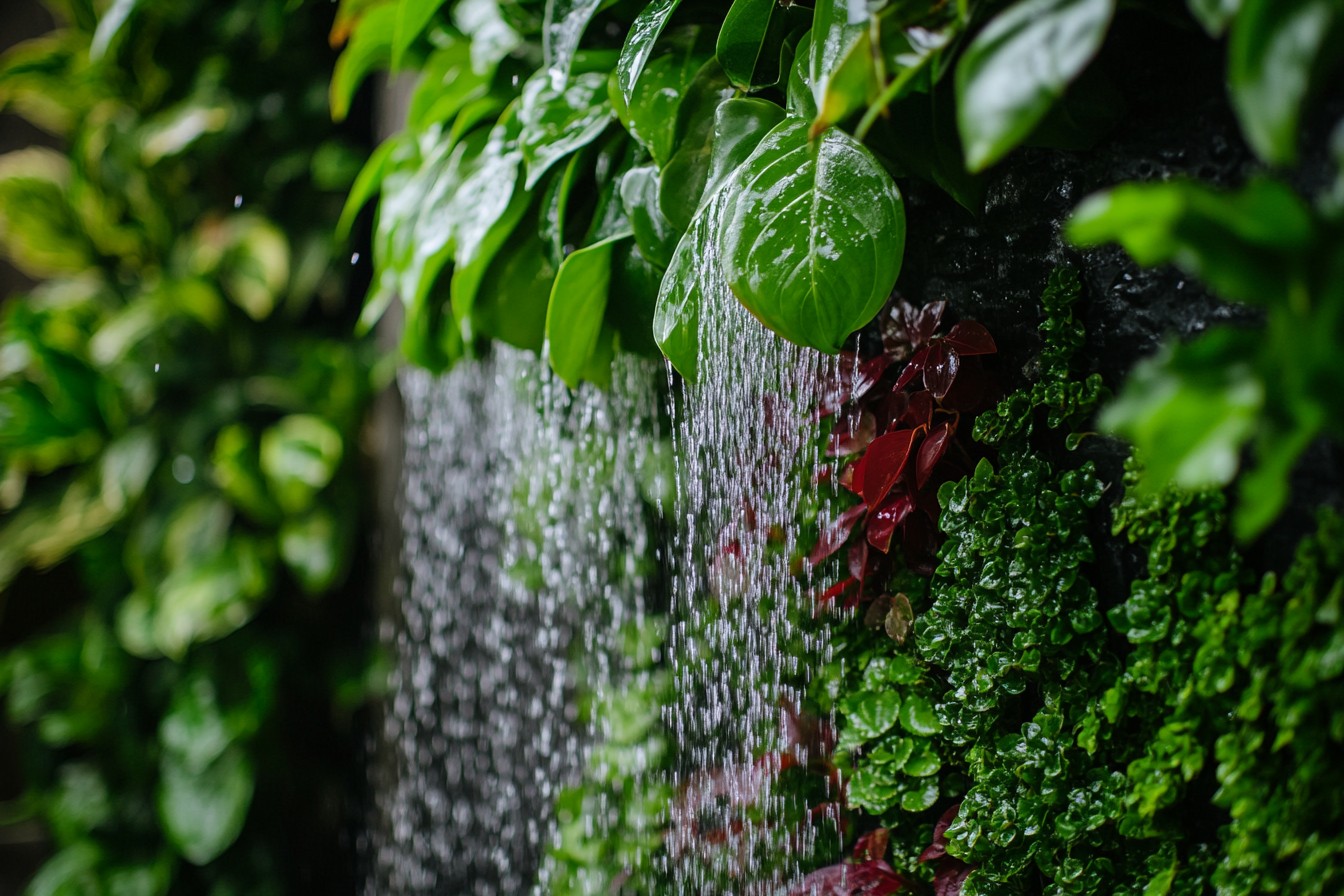
Completely wrong! What actually happened was that the top row got a decent soaking, the second row caught some overflow but stayed mostly dry, and every row below that might as well have been growing in the Mojave. Meanwhile, water streamed down the front of the fabric, carrying soil with it, and created what my then-girlfriend Alicia dubbed “the mud waterfall effect.” Not exactly the lush green wall I’d envisioned.
After three weeks of increasingly desperate watering attempts—including one spectacularly bad idea involving a perforated PVC pipe that turned my wall into something resembling a malfunctioning sprinkler system—I admitted defeat. The survivors were rescued and replanted in traditional pots, and I spent a weekend researching proper vertical garden irrigation. That’s when I discovered that professional vertical garden systems use drip irrigation for a reason.
Each plant needs its own water source. Gravity isn’t going to distribute water evenly—it’s going to take the path of least resistance, which usually means right down the front of your carefully constructed plant wall. My first real attempt at solving this problem involved individual drip emitters for each pocket.
I bought a basic drip irrigation kit meant for outdoor gardens, hacked it to pieces, and reconstructed it to fit my indoor setup. The main line ran along the top of the wall, with smaller lines branching down to each plant pocket. Each pocket got its own adjustable drip emitter, allowing me to control how much water each plant received.
This worked… for about three weeks. Then the inevitable clogging began.
Turns out the tiny holes in drip emitters don’t appreciate the mineral buildup from tap water. Some plants were getting flooded, others were bone dry, and I was back to hand-watering while giving my “sophisticated irrigation system” dirty looks. The breakthrough came from an unlikely source: my bathroom.
One morning, while taking a shower, I noticed how the shower head distributed water evenly across a relatively large area. What if, instead of relying on tiny drip emitters, I used something with larger openings that were less likely to clog? This led to what I now call the “micro-shower system.” I replaced the individual drip emitters with small sections of soaker hose—about 2 inches per pocket.
Soaker hoses have multiple pores along their length and are much less prone to clogging than the tiny openings in standard drip emitters. I connected these to the main water line using T-connectors and adjustable valves so I could still control the flow to different sections. The first test was promising.
Water seeped out slowly and evenly, soaking the soil without creating runoff. My plants looked happier within days, and I could actually leave town for a weekend without coming home to a botanical crime scene. But manual operation was still a pain.
I had to remember to turn the system on and off, and my memory is… let’s say selective at best. I once left it running for an entire day while at work, coming home to find my neighbor had placed an impressive collection of buckets below my now-dripping wall and left a note that just said “????”
Automation was the obvious next step.
I installed a simple irrigation timer—the kind meant for outdoor garden hoses—at the main water supply. This worked, but it wasn’t smart enough. It would water on schedule whether the plants needed it or not.
I became slightly obsessed with creating the perfect watering system. I started researching soil moisture sensors, which led me to Arduino microcontrollers, which spiraled into a three-month deep dive into DIY electronics that my friends found concerning. “You’re spending how much time programming a computer to water your plants?” My buddy Dave asked this while watching me solder connections at 11 PM on a Friday night.
I chose not to answer that question directly. The result was what I grandiosely called the “Adaptive Moisture-Responsive Irrigation System” (AMRIS, because everything sounds more legitimate with an acronym). It used moisture sensors in different zones of the wall to trigger watering only when needed.
This prevented both overwatering and underwatering, and it saved water by not running on a blind schedule. Was it overkill? Absolutely.
Was I unreasonably proud of it? You bet your Pothos I was. The system worked beautifully for almost a year before the inevitable Murphy’s Law of DIY projects kicked in.
One of the moisture sensors corroded, sending faulty readings to the controller, which decided that one section of the wall was perpetually dry. I woke up at 3 AM to the sound of water dripping onto my floor and found that one section had been receiving constant irrigation for God knows how long. The soil had turned to mud, washing out through the drainage holes and taking an unfortunate string of pearls plant with it.
After that incident, I simplified. The current iteration uses a combination of approaches I’ve refined over years of trial and error:
1. The wall is divided into three zones based on water needs—thirsty plants, moderate drinkers, and drought-tolerant succulents.

2. Each zone has its own water line with adjustable flow. 3.
Instead of individual emitters, each pocket has a short section of soaker hose. 4. The system runs on a programmable timer, but I’ve added manual override valves for seasonal adjustments.
5. I installed a simple water collection tray at the bottom that channels excess water to a reservoir, which I check regularly to gauge if I’m overwatering. 6.
Perhaps most importantly, I added a master shutoff valve that’s easily accessible, so I can quickly stop the whole system if something goes wrong. This setup isn’t as “smart” as my AMRIS, but it’s far more reliable and still gets the job done without requiring constant supervision or emergency midnight bucket deployments. The other game-changer was switching from tap water to filtered water.
My city water has enough minerals to cause regular clogging in any small-scale irrigation system. I installed an under-sink filter that removes most of the problematic minerals and connected it to my vertical garden system. This has dramatically reduced clogging issues and has the added benefit of being better for the plants.
For people wanting to try vertical gardening without going full mad scientist, I recommend starting with a simple gravity-fed system using reservoir planters. These have a water reservoir at the top that slowly releases moisture to the soil below. They’re not perfect for every plant type, but they’re a good entry point that doesn’t require pumps, timers, or apologetic notes to your neighbors.
If you’re ready to level up, a basic drip system with a timer is relatively easy to install and will keep most plants happy with minimal intervention. Just remember that any irrigation system needs regular maintenance—checking for clogs, adjusting flow rates as plants grow, and making seasonal changes as light and temperature affect water needs. My current vertical garden hosts twenty-seven different plant species, from ferns to succulents to culinary herbs.
The wall has become my living laboratory, and each plant has taught me something about balancing water, light, and nutrients in a vertical space. Some lessons were learned the hard way (RIP, original succulent collection), but that’s part of the journey. The most important thing I’ve learned is that there’s no perfect one-size-fits-all solution for watering vertical gardens.
It depends on your specific plants, your space, your climate, and how much time you’re willing to invest in maintenance. My current system works for me because it evolved through multiple failures and adjustments specific to my situation. So if you’re staring at a wall of dying plants wondering where your vertical garden dreams went wrong, take heart.
Each crispy leaf and root rot incident is just another data point guiding you toward a solution that works. And if your experiments result in temporarily turning your apartment into a minor indoor waterpark… well, that’s just part of the process.
Just remember to apologize to your downstairs neighbors and maybe bring them some of those herbs you’ll eventually be growing successfully.